

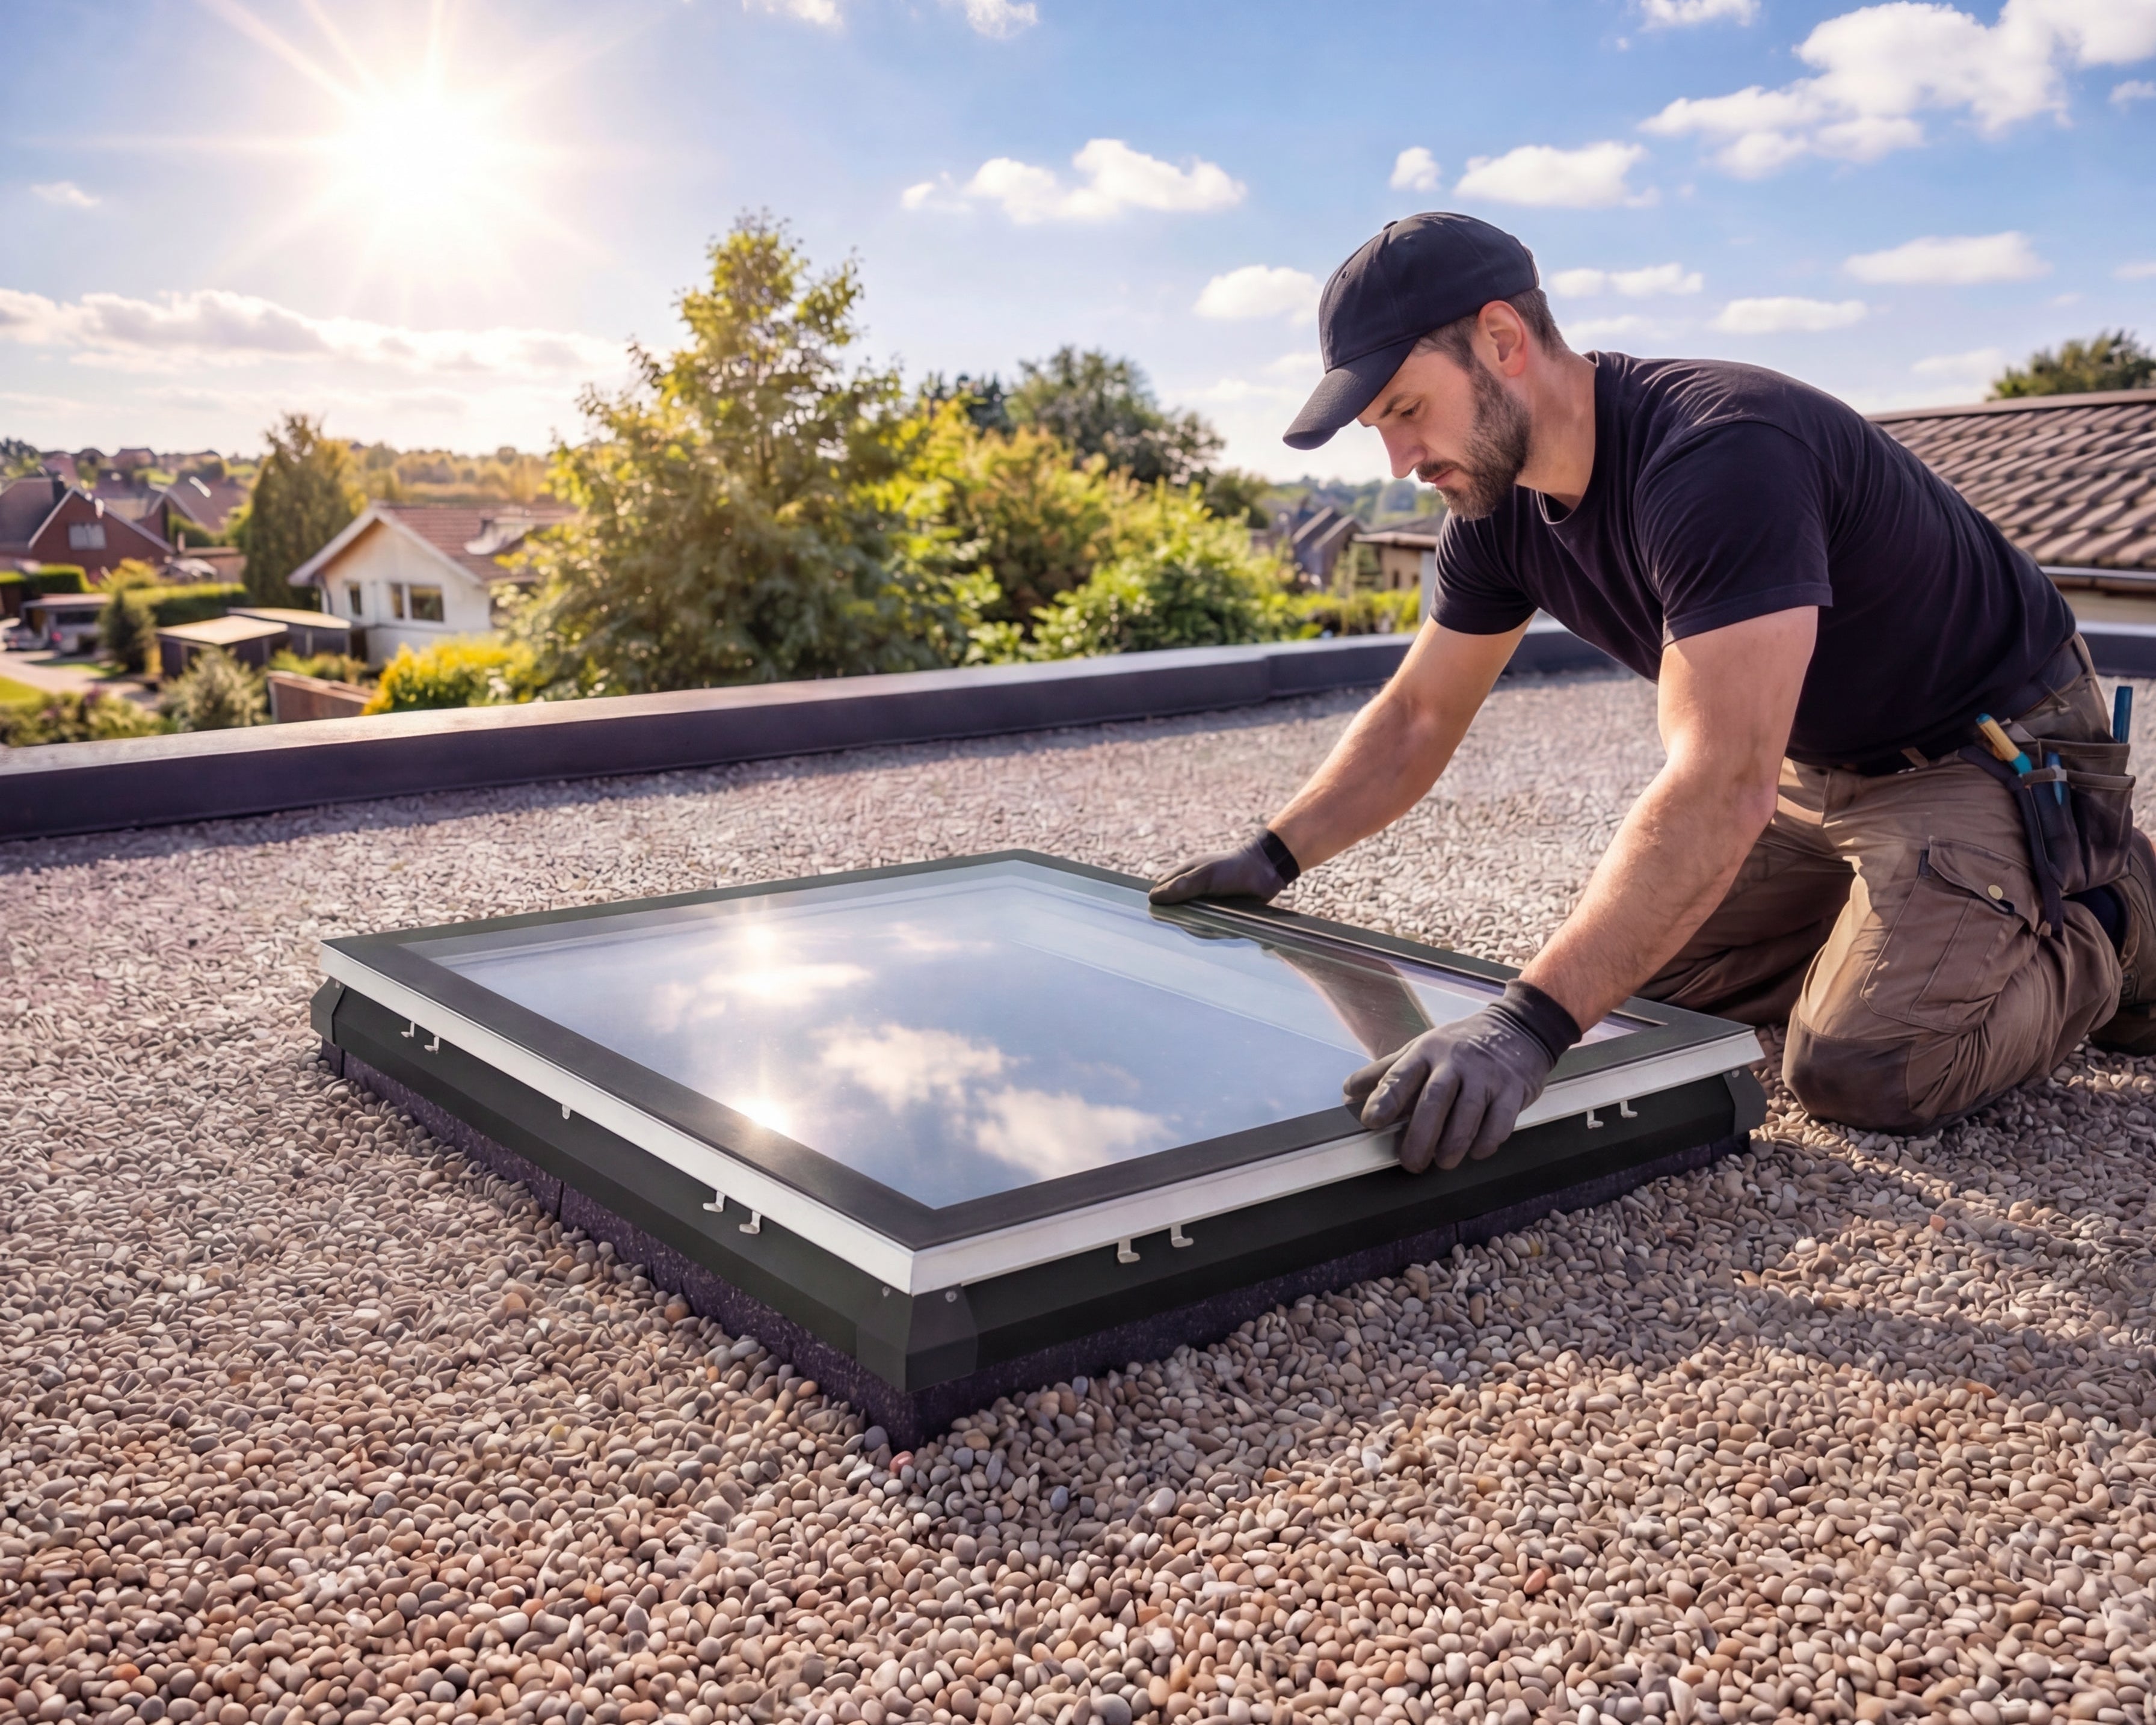
Frequently asked questions about our iWindow flat roof window
I hear a click when I try to operate my iWindow, but nothing happens. What should I do?
This may be related to a software issue. First, try switching off the power to the iWindow for at least 5 minutes, then switch it back on. If the system works again afterwards, please contact us for further support.
How do I disconnect the iWindow from the motor rod?
Watch this video for a step-by-step explanation on disconnecting the iWindow from the motor rod.
I have water infiltration through my Skylux skylight/iWindow.
We understand that water infiltration can be a concern, and we would like to share a few facts about it. In complaints about water infiltration attributed to our products, investigation shows in almost all cases that the Skylux product is not the cause. Here are a few important points to keep in mind:
- Water marks on the inside: If there is actual water infiltration through the skylight/iWindow, you should always see water marks on the inside of the curb.
- Sealing: Our skylight/iWindow products are always sealed with high-quality rubber. This sealing prevents water infiltration in almost 99% of cases.
- Installation of the Solin: With correct installation of the Solin against poor adhesion of the roofing, water infiltration is also ruled out.
It is important that installers follow the installation instructions carefully to prevent issues such as water infiltration. If you have any doubts or concerns about your Skylux product, please contact us. We are ready to help and provide all necessary support.
How can I pair a new remote control?
Pairing a new remote control is simple and can be done as follows:
For openable versions (O):
- Remove the clipped cover on the inside of the window.
- Remove the support plate from the spindle using 2 screwdrivers and pull the plate towards you.
- You can now push the window open.
- On top of the motor location there is a ‘learn’ button that can be pressed without removing the motor.
- Press the button until you hear a buzzer (when pressing the button, an indicator LED will light up).
- Press any button on the remote control.
- You will hear a few ‘beeps’ and the two are paired.
For fixed versions (F):
- First remove the clipped iDome or iWindow from the curb.
- Press the button on the plastic cover (approximately in the middle of the curb).
- Press any button on the remote control.
- You will hear a few ‘beeps’ and the two are paired.
How do I reset and re-pair a remote control?
Watch this video for a detailed explanation on resetting and re-pairing your remote control.
Is a specific pitch required for the iWindow to ensure proper rainwater drainage?
For the best experience with your Skylux iWindow2™ or Skylux iWindow3™, install the window at a pitch between 4° and 25°.
A 5° pitch is ideal to keep the glass clean and prevent water from remaining on it. Make sure the roof pitch or the placement of the curb follows these recommendations.

Make sure the clips, together with the window and glass assembly, are not placed directly on the roofing or the substrate.
(This prevents possible damage to the roofing or the clips.)
Check whether all clips are clipped behind the lip of the curb.
To achieve ideal airtightness, we also recommend sealing the curb airtight to the trimmer structure.
Screw the curb to the fixed roof structure through the indicator line of the flange (wood screw 5.2 x 60 mm or steel roof screw 4.8 x 60 mm). Start 7.5 cm from the ends with a centre-to-centre distance of no more than 30 cm.
The 20/00 EP curb is supplied as standard with a clear anodised aluminium profile (flashing) with 4 plastic (ASA) corner pieces and is fastened, depending on the dimensions of the curb, with stainless steel self-tapping screws with nyplas washer. This allows you to neatly bring up the roofing in a simple way.
From flat roof window to parts, everything for a flawless result.
Your iWindow is working properly again. Looking to upgrade, complement or expand? Discover our flat roof windows, compatible parts and hybrid skylights, selected for those who choose uncompromising daylight.


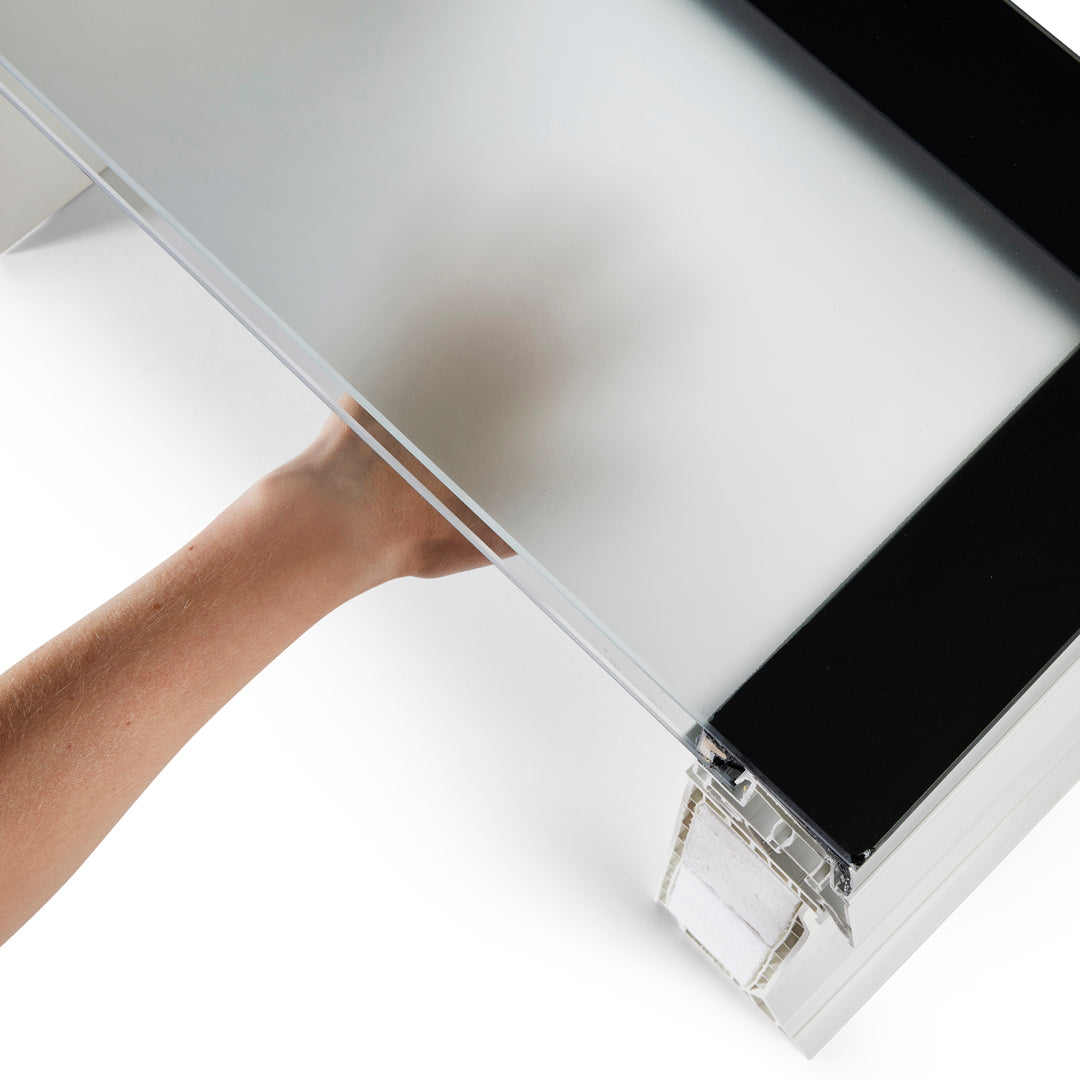
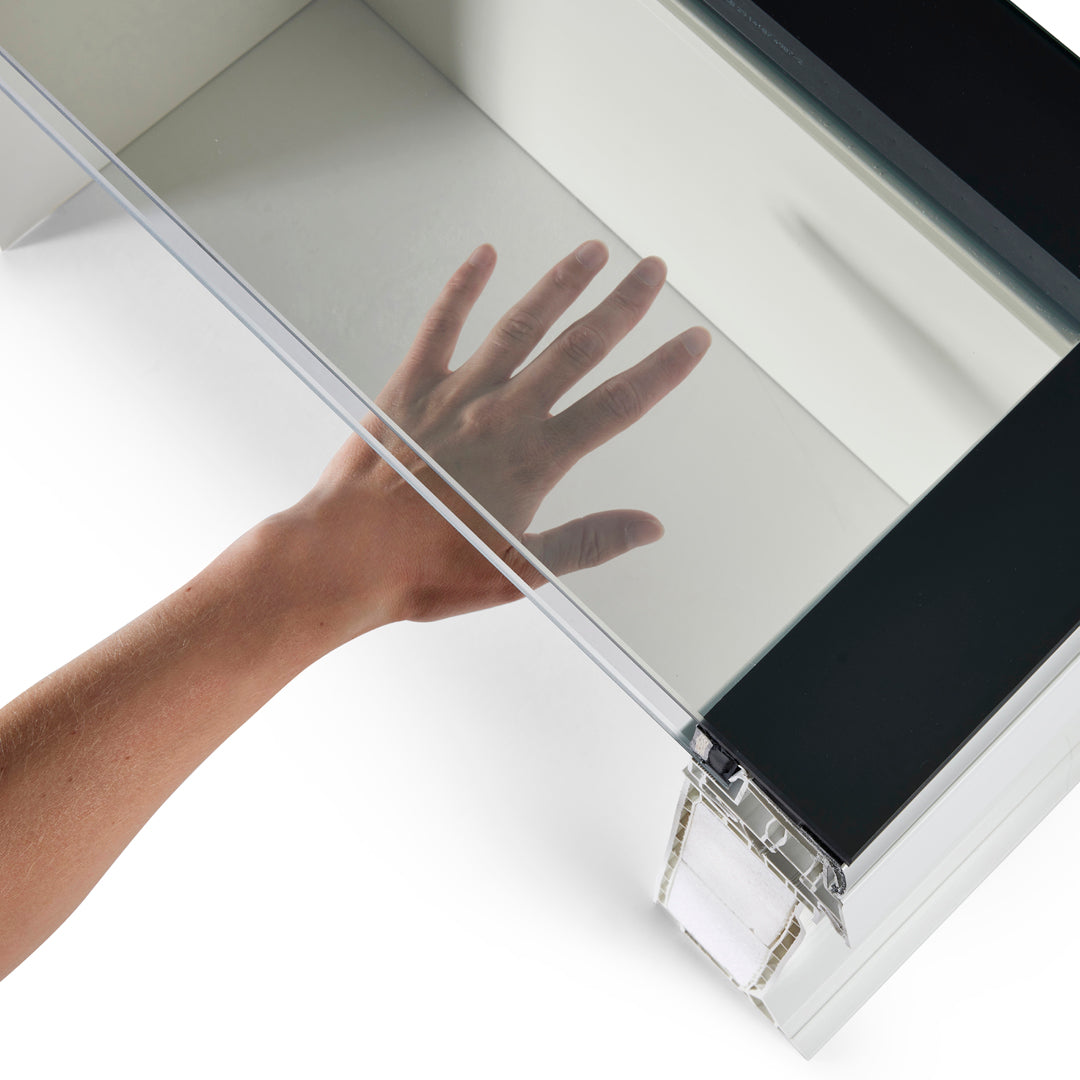
iWindow Fixed Flat Roof Window 50x50 cm

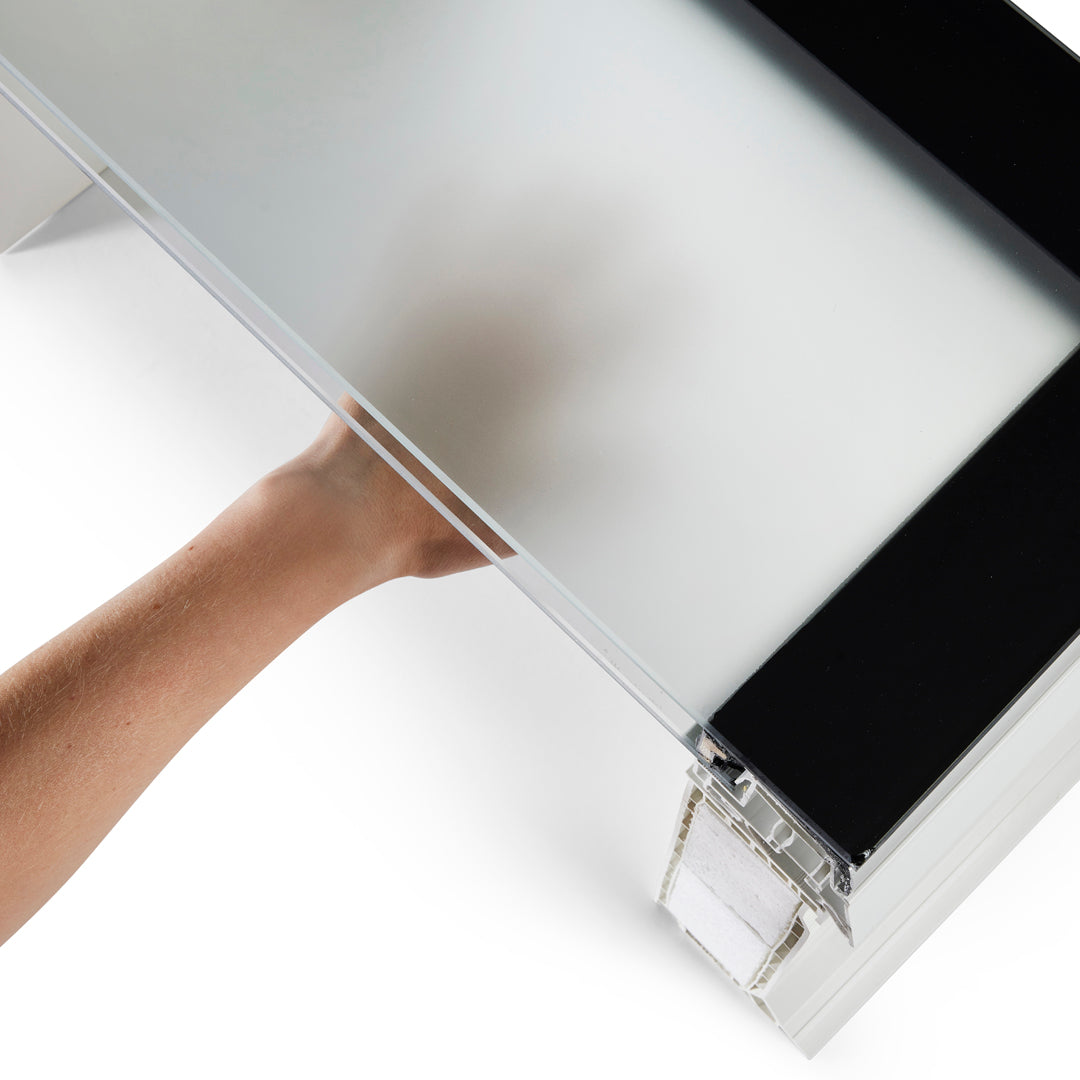
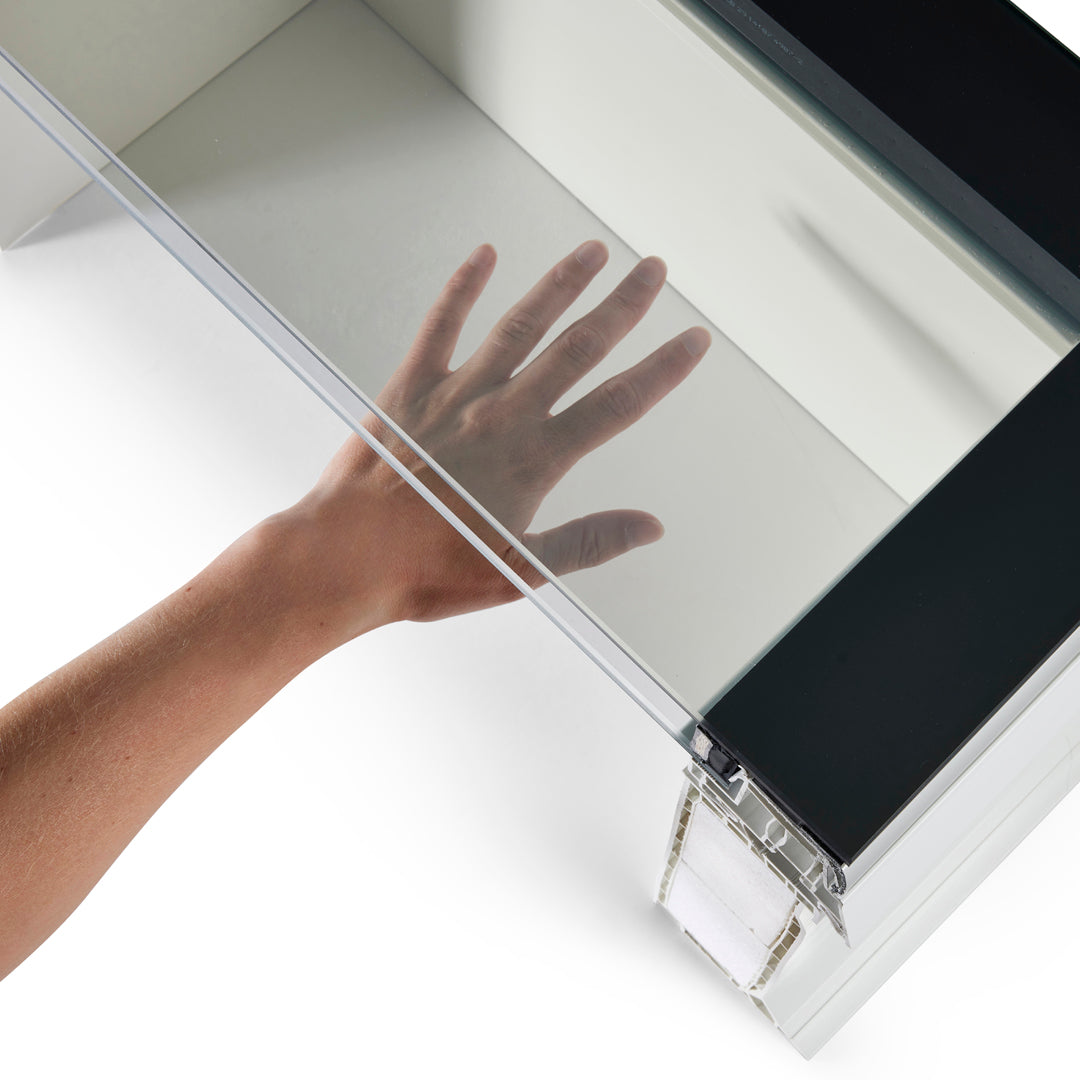
iWindow Fixed Flat Roof Window 55x55 cm
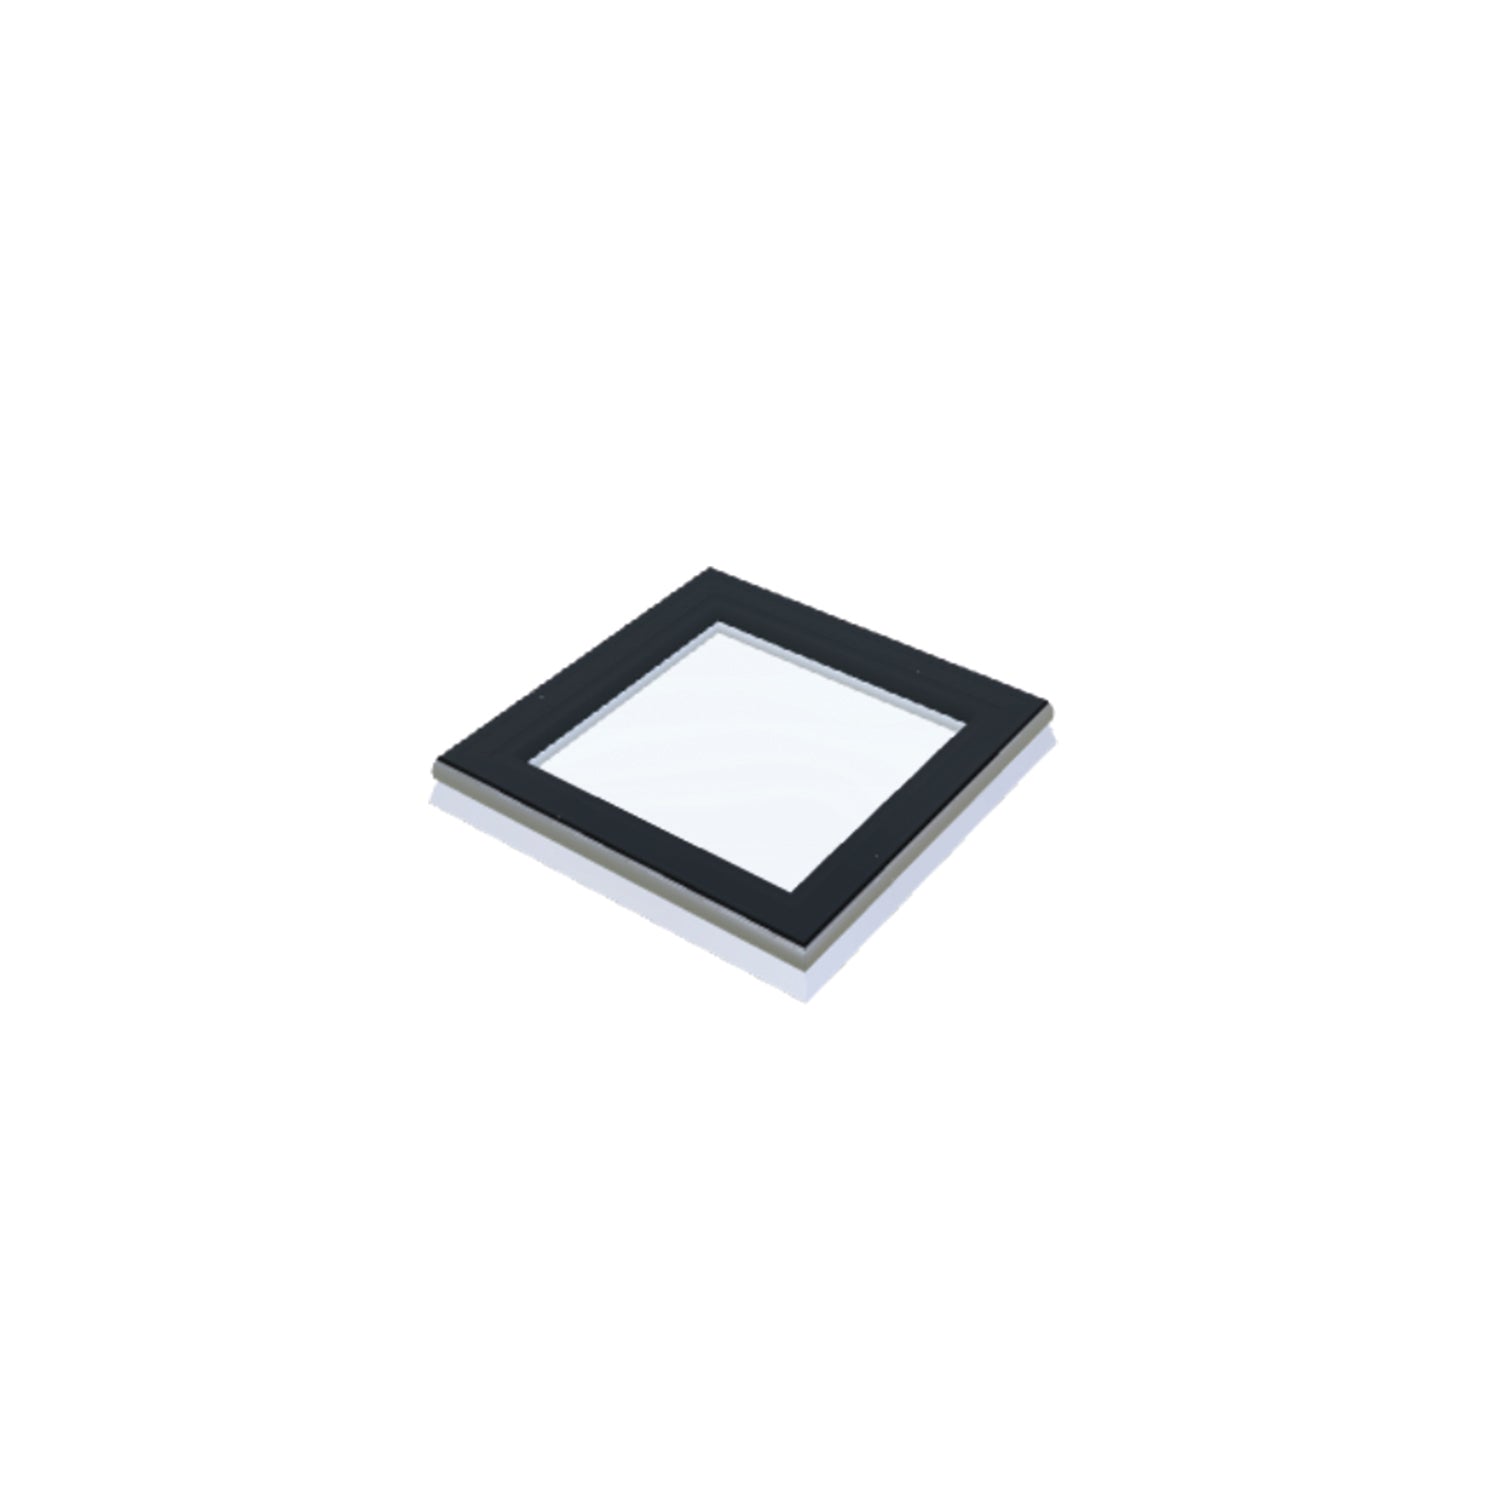

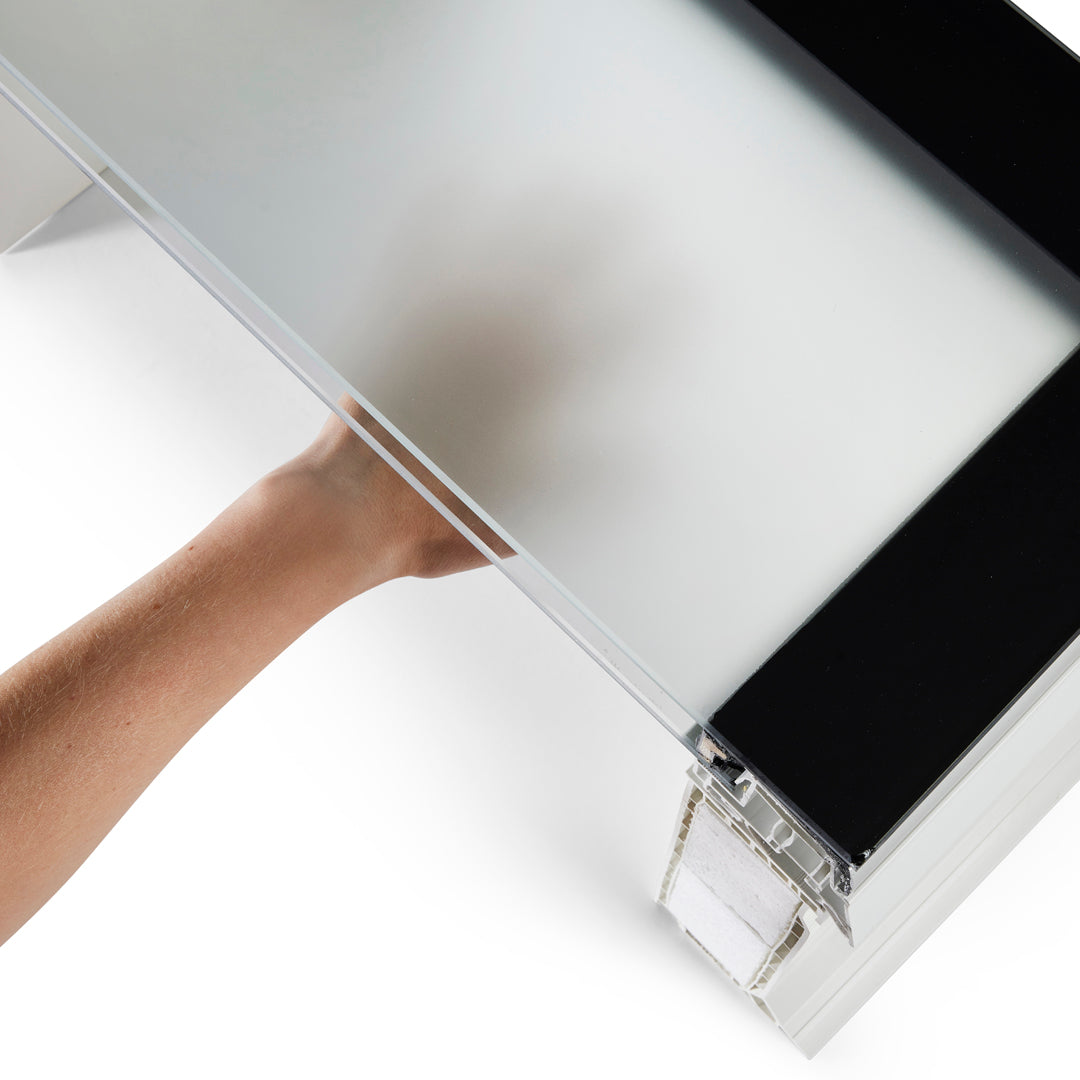
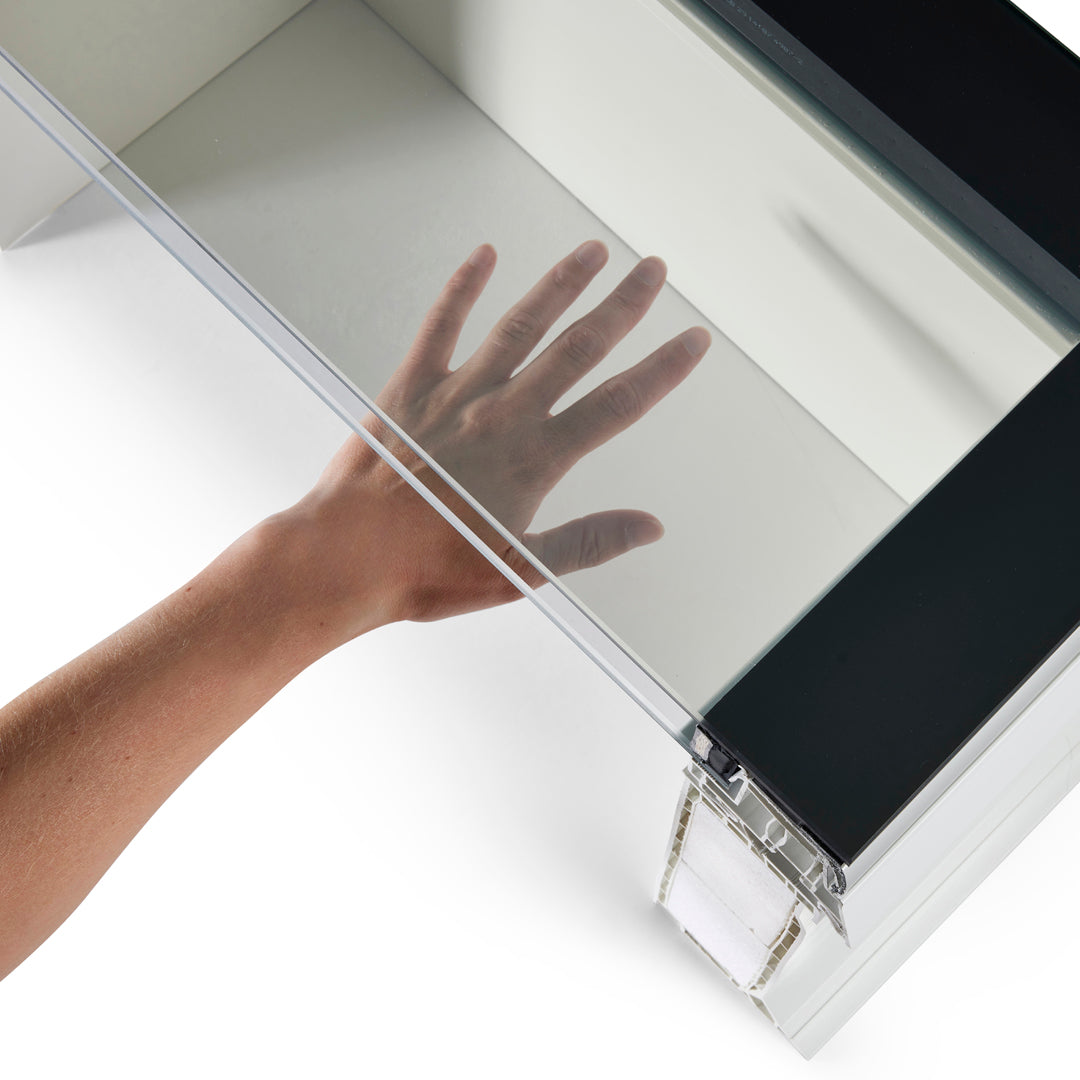
iWindow Fixed Flat Roof Window 40x40 cm


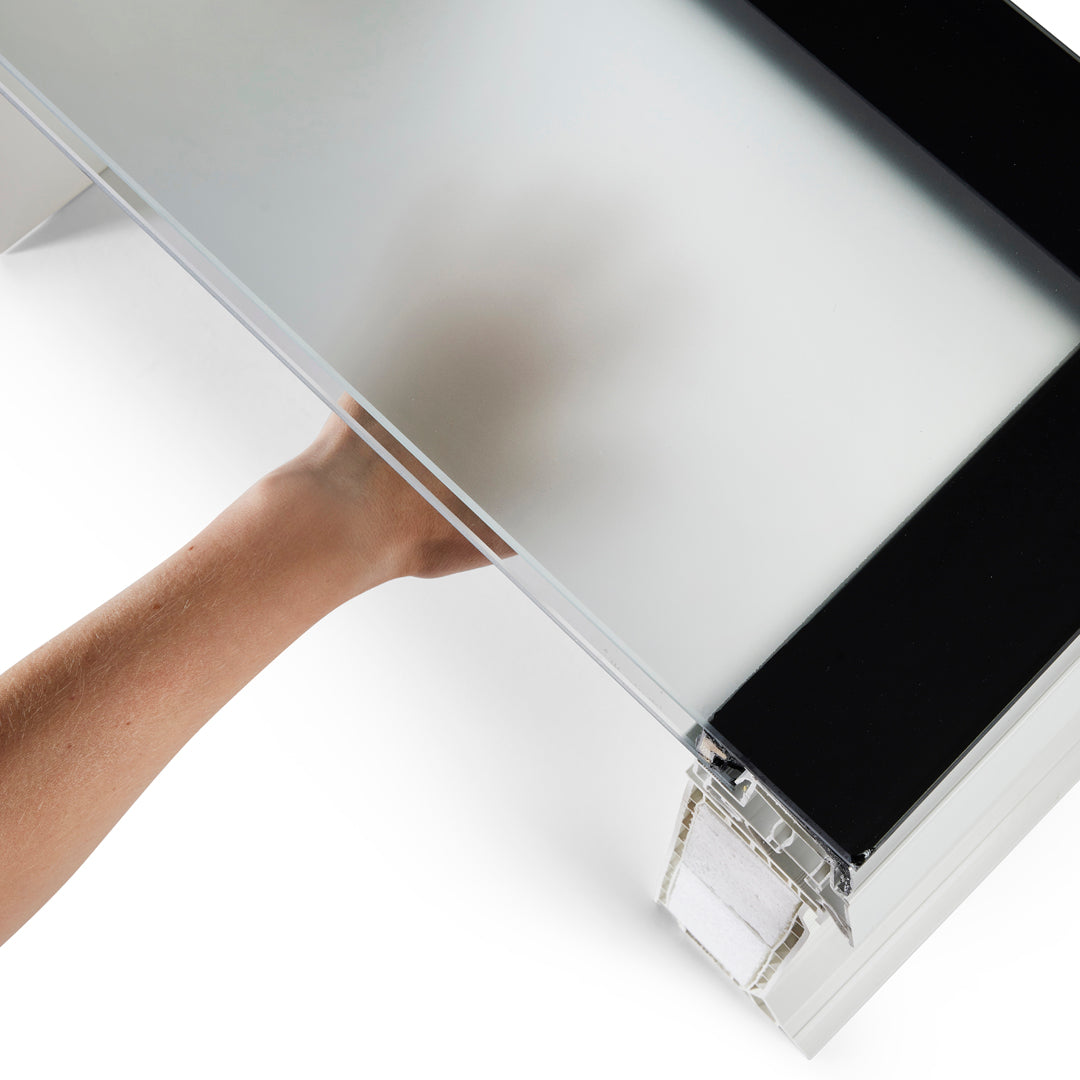
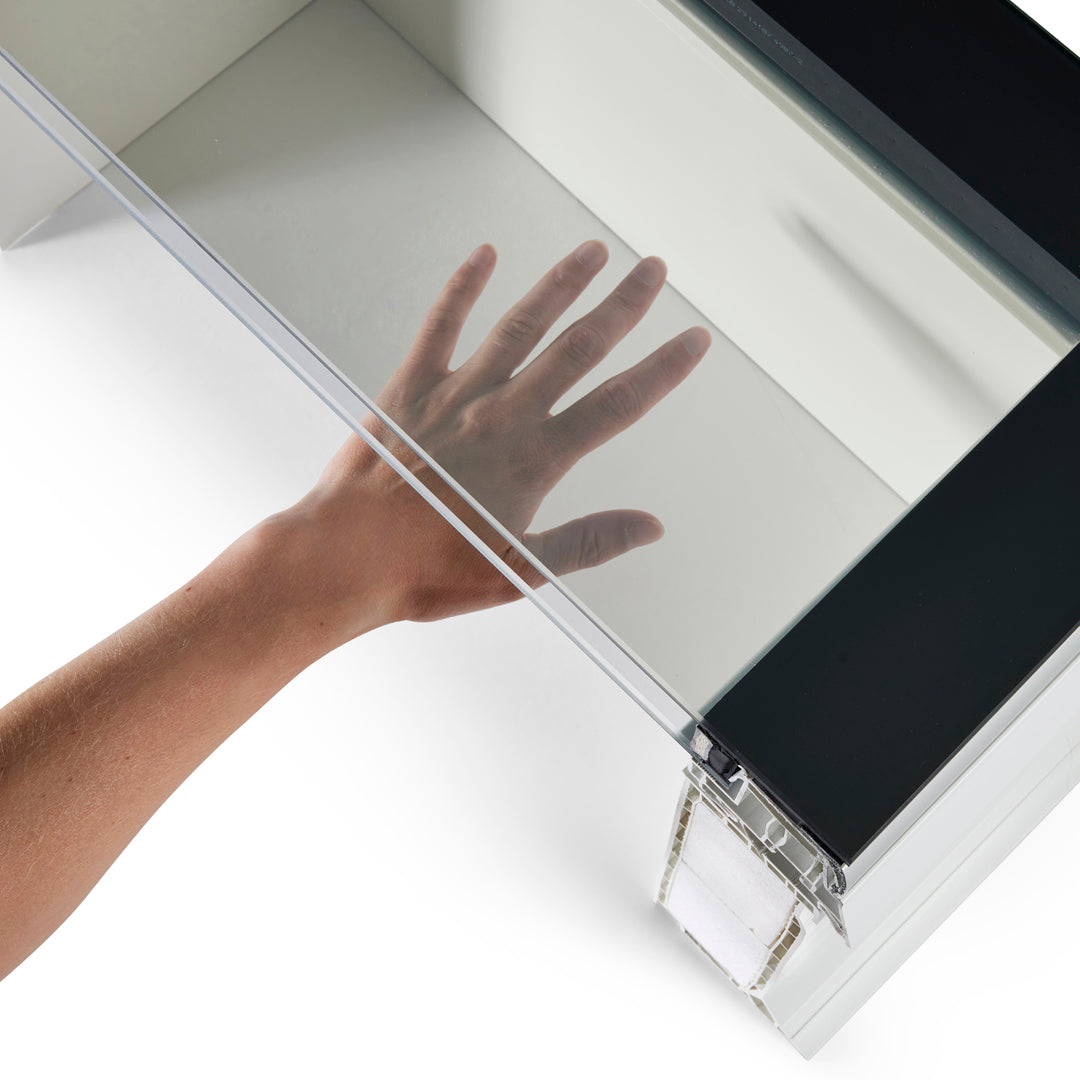
iWindow Fixed Flat Roof Window 40x70 cm


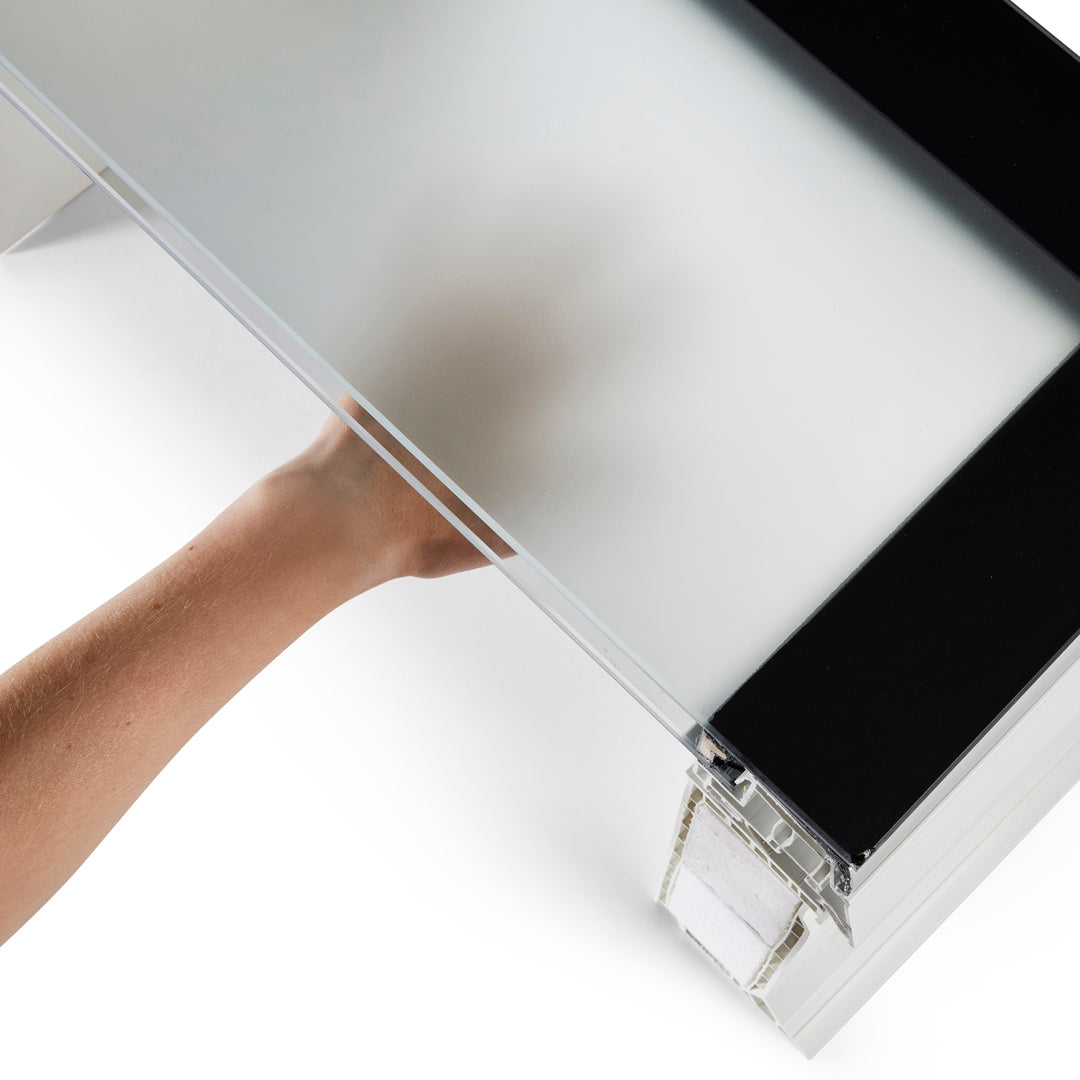
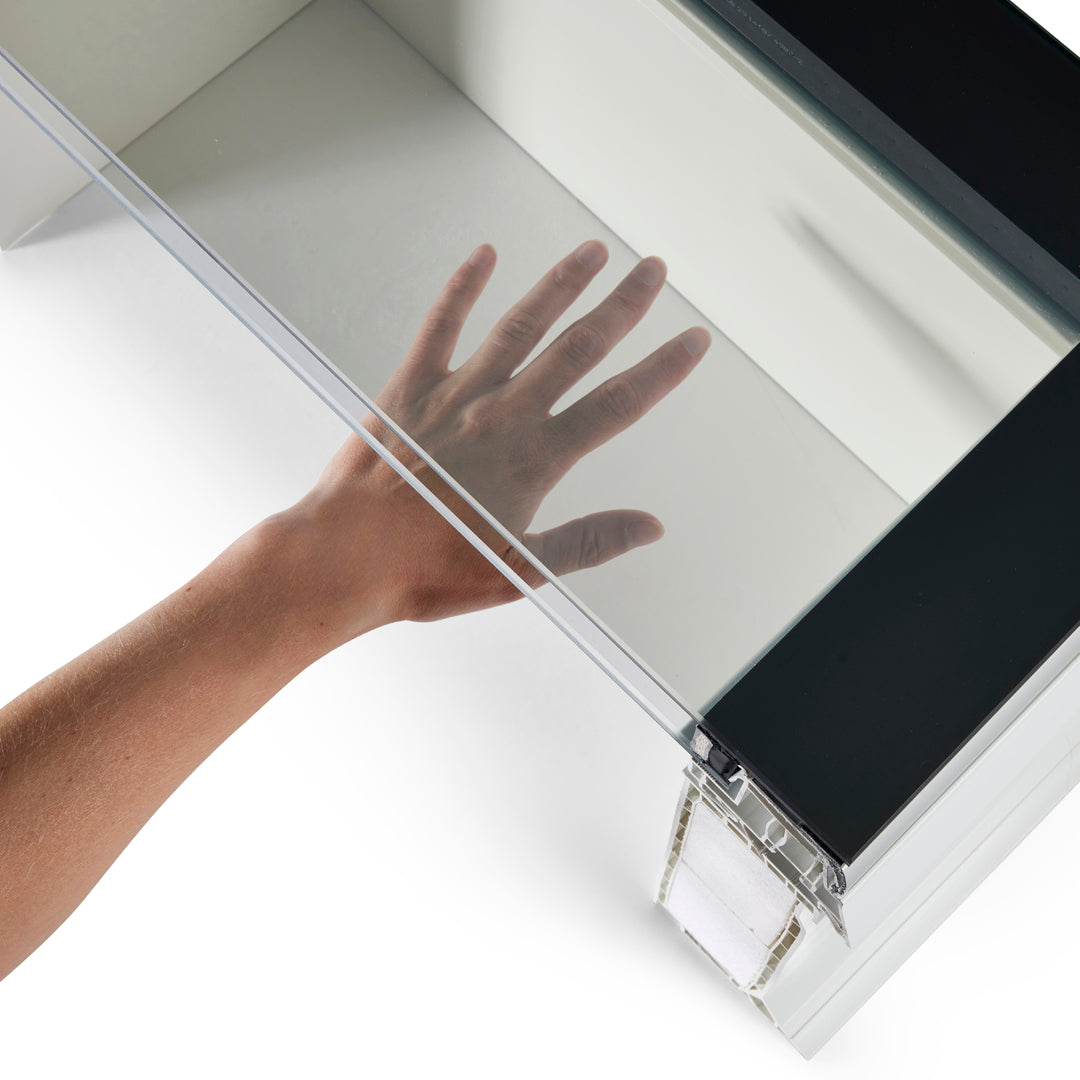
iWindow Fixed Flat Roof Window 60x60 cm


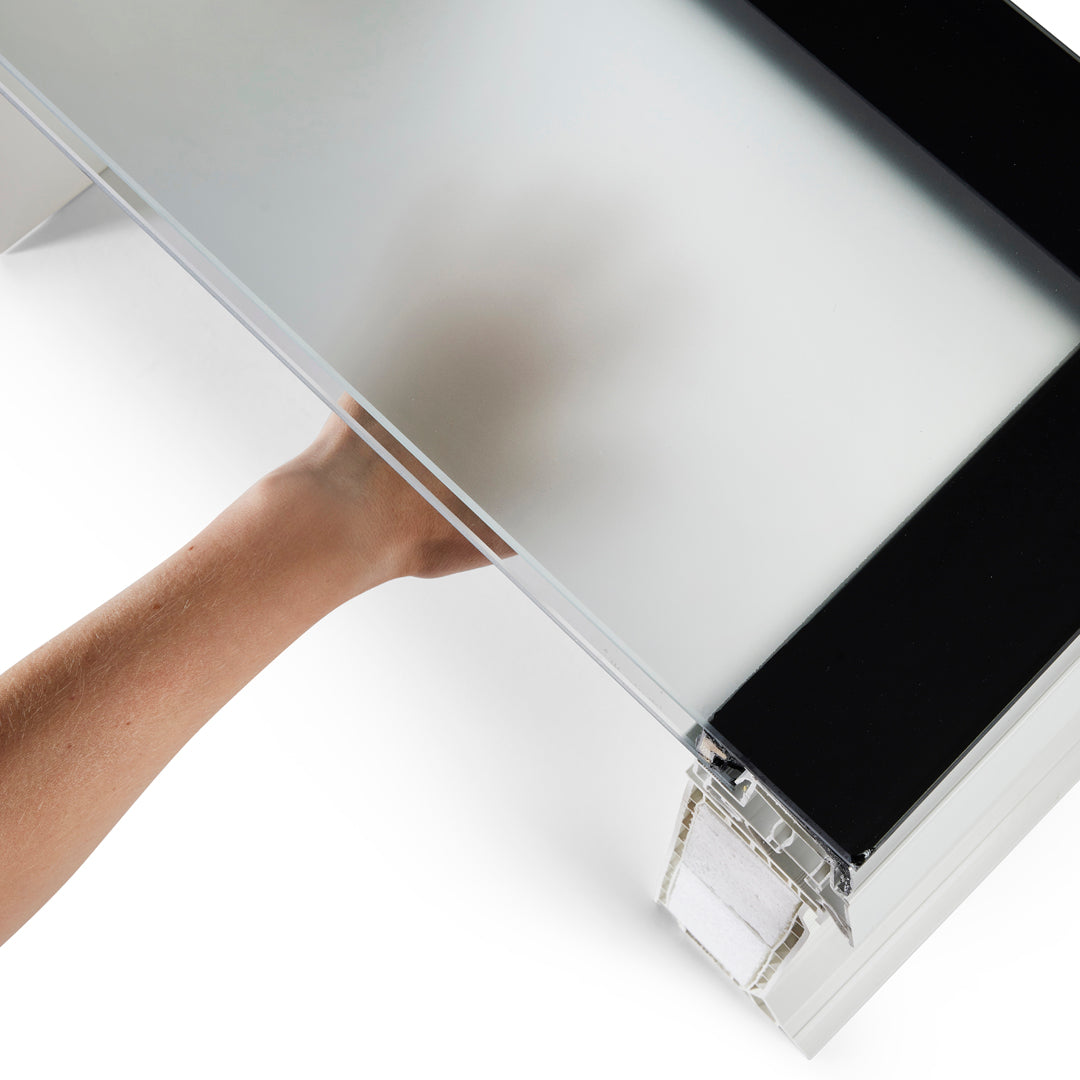
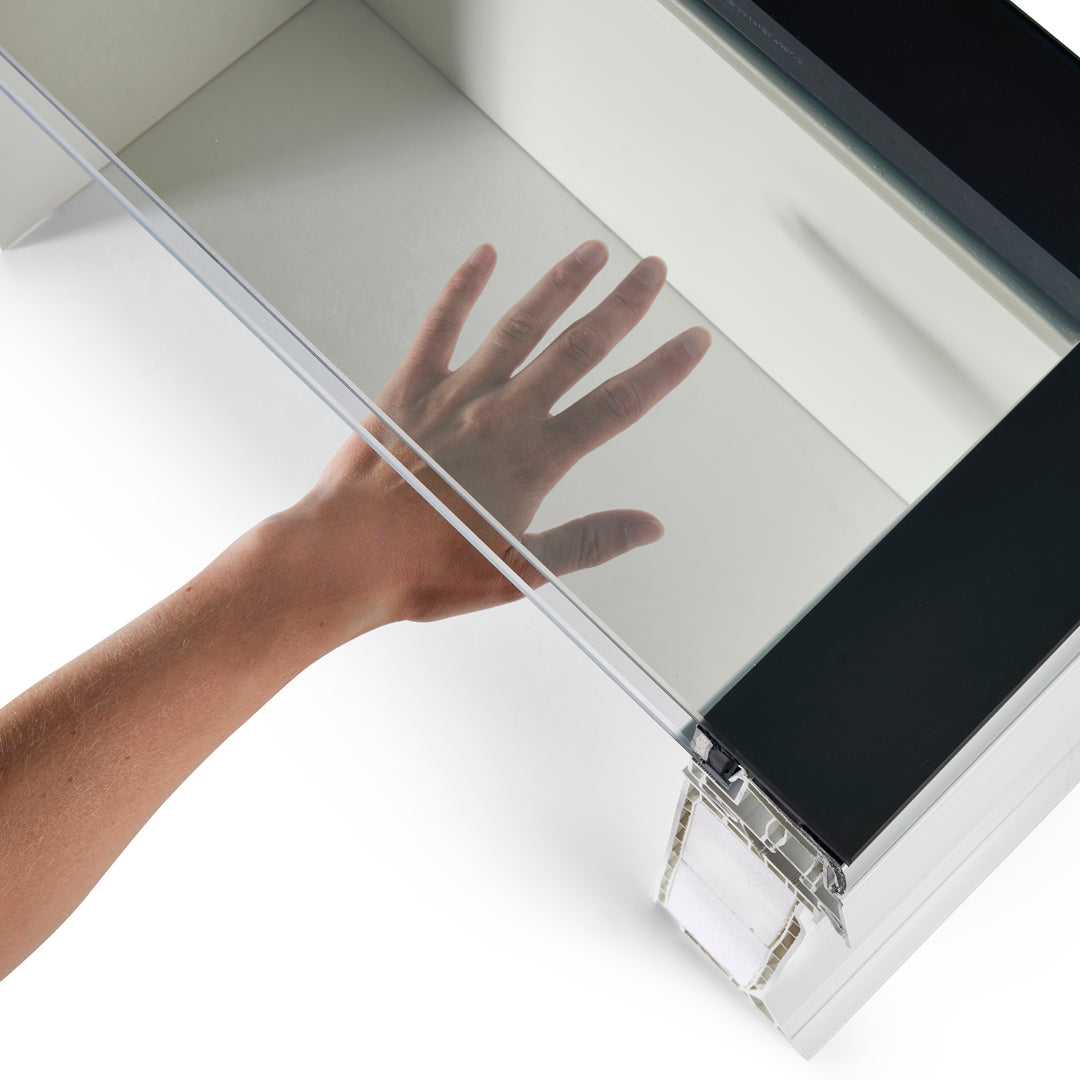
iWindow Fixed Flat Roof Window 50x70 cm
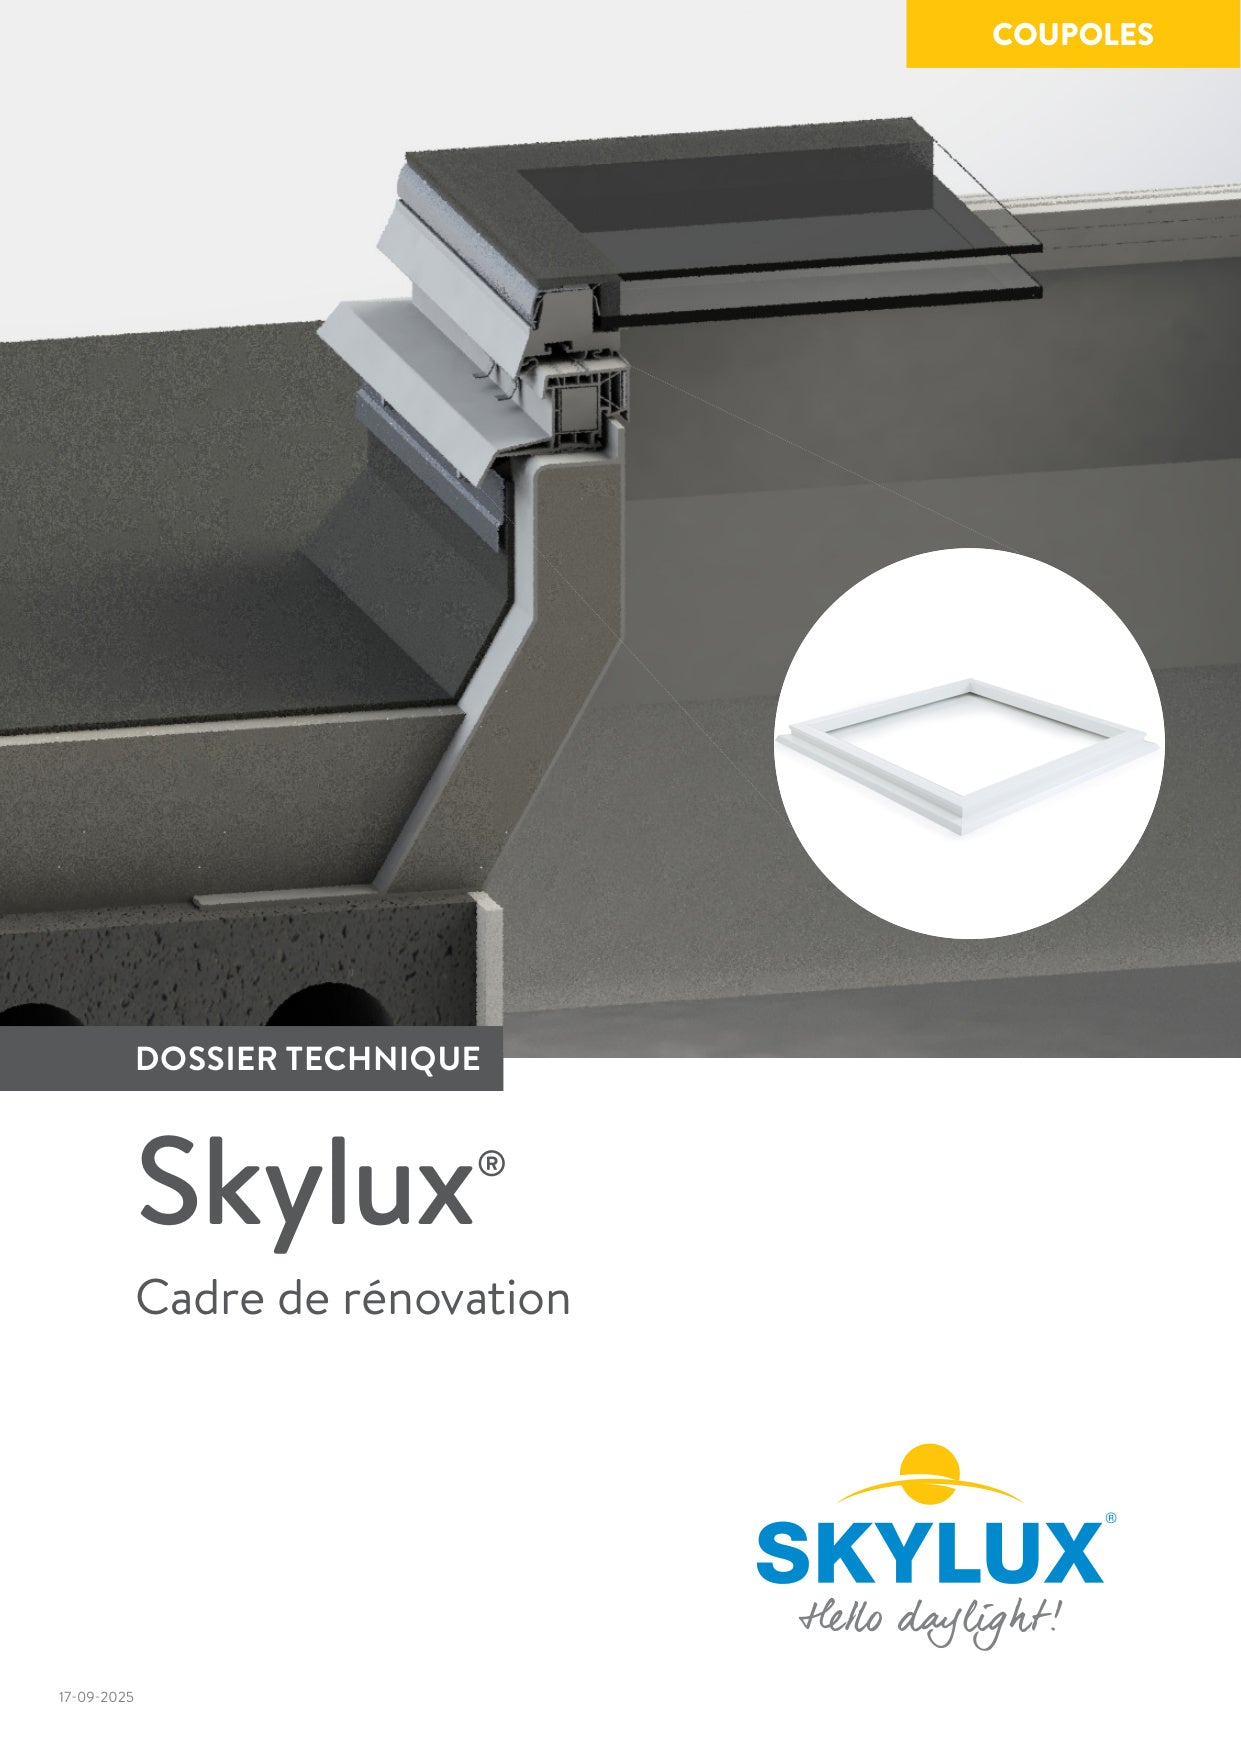
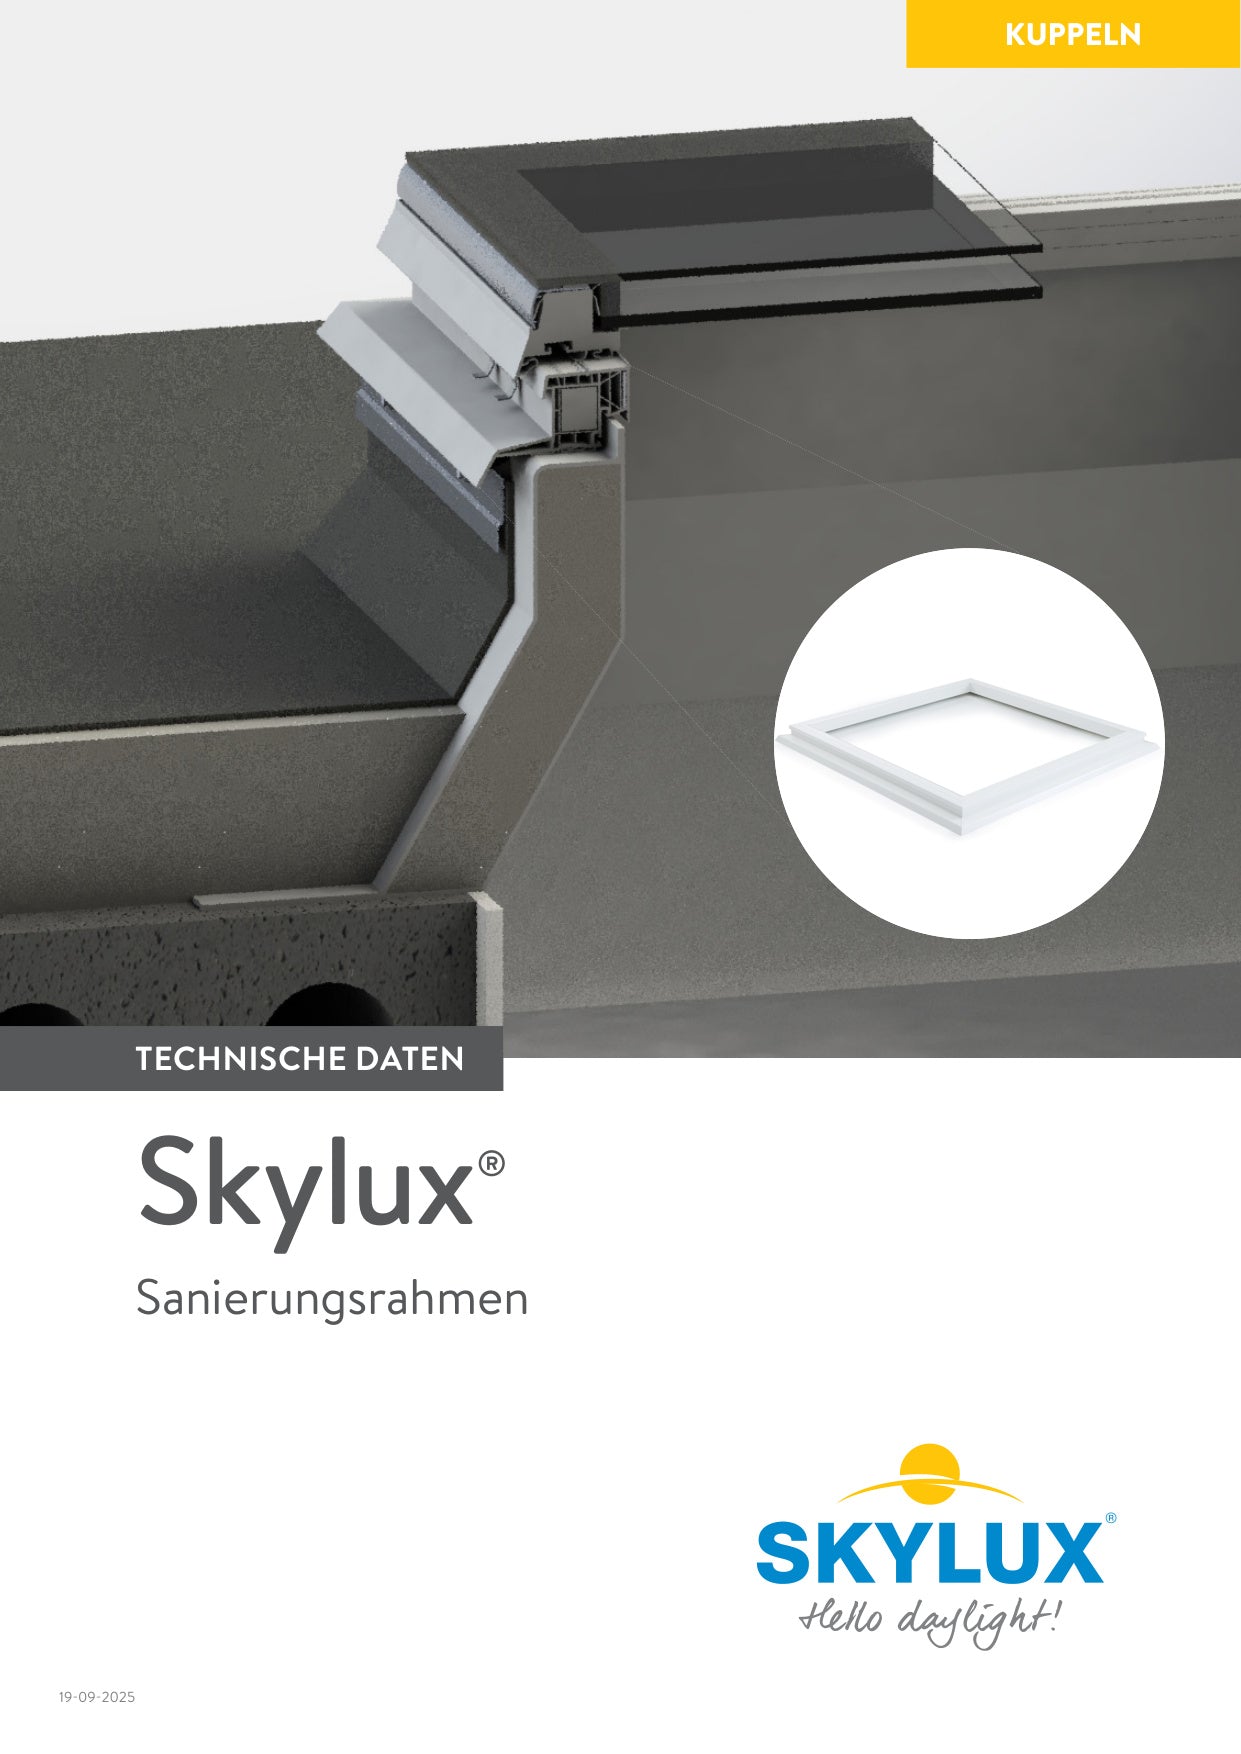
Technical documentation.
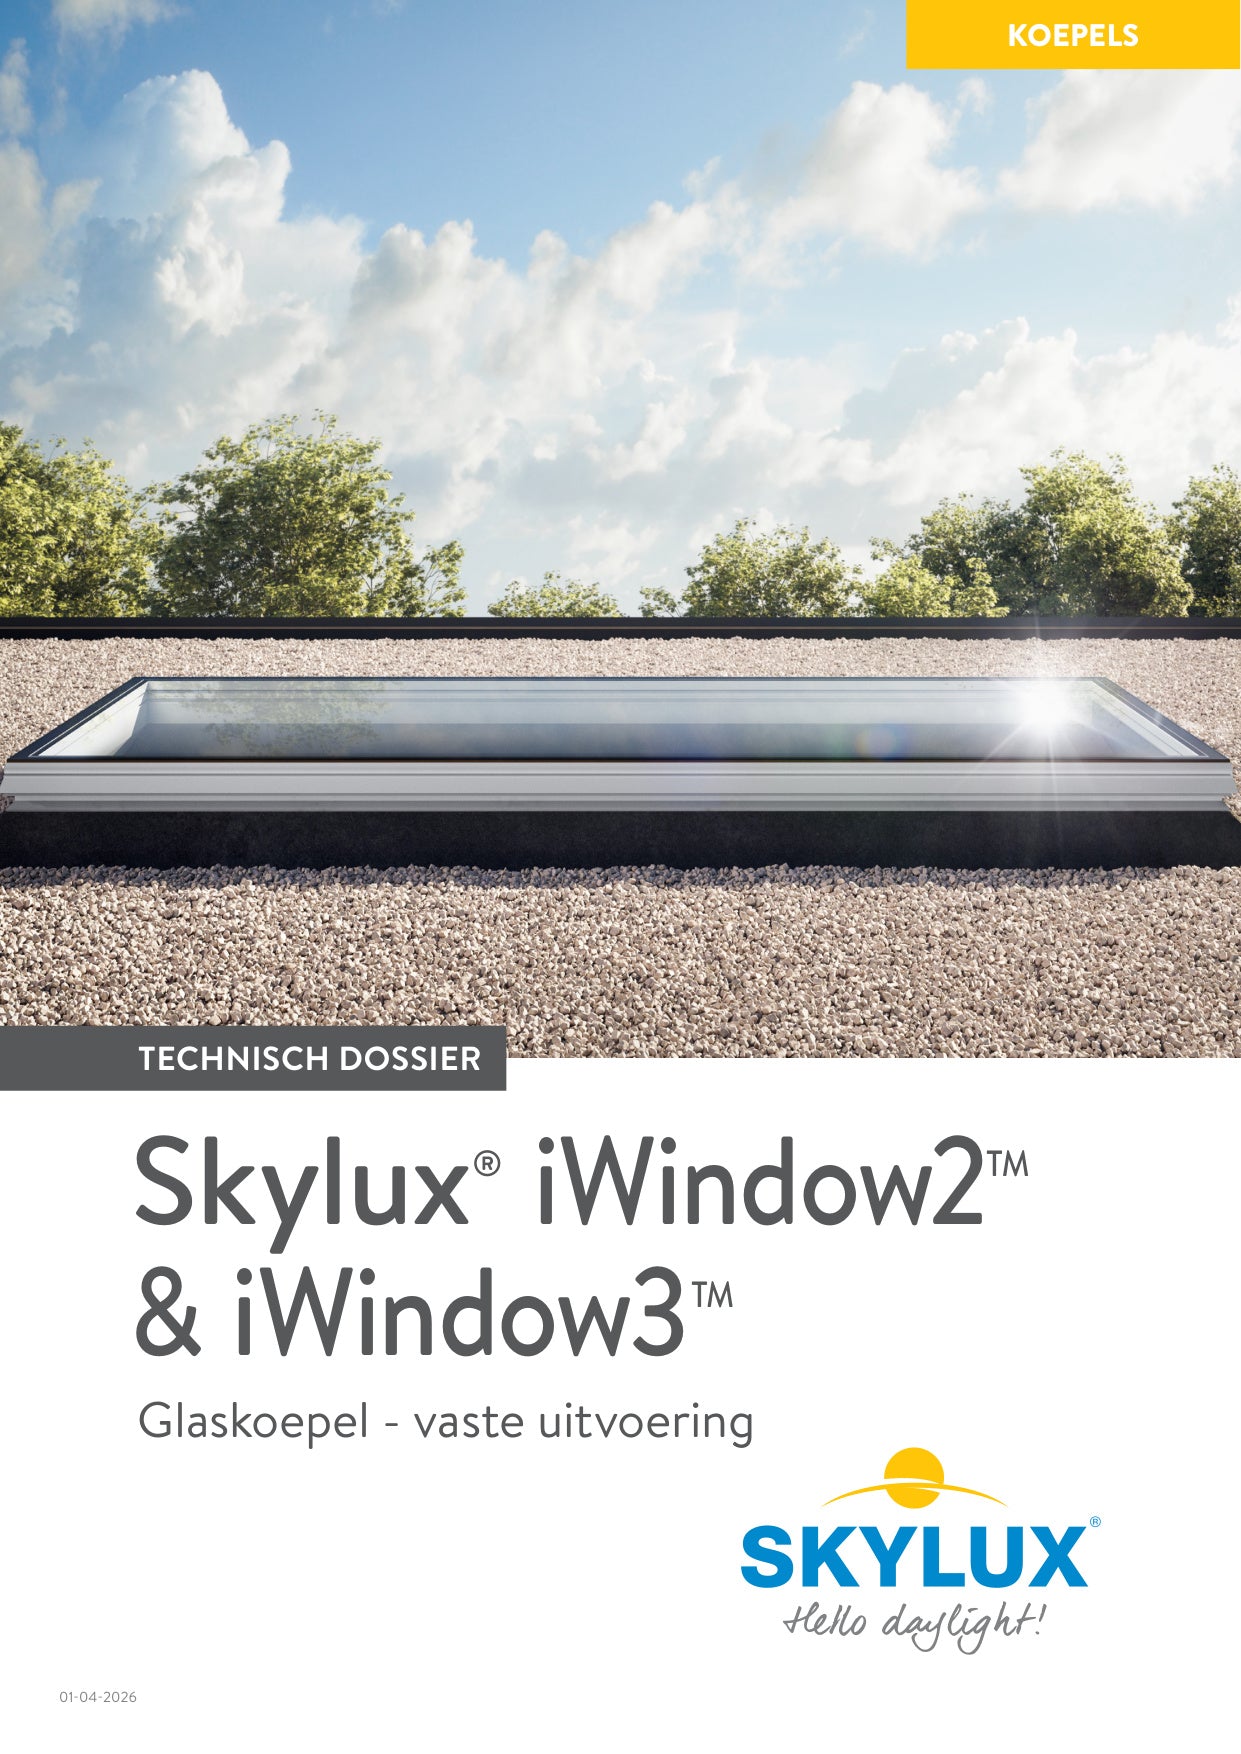
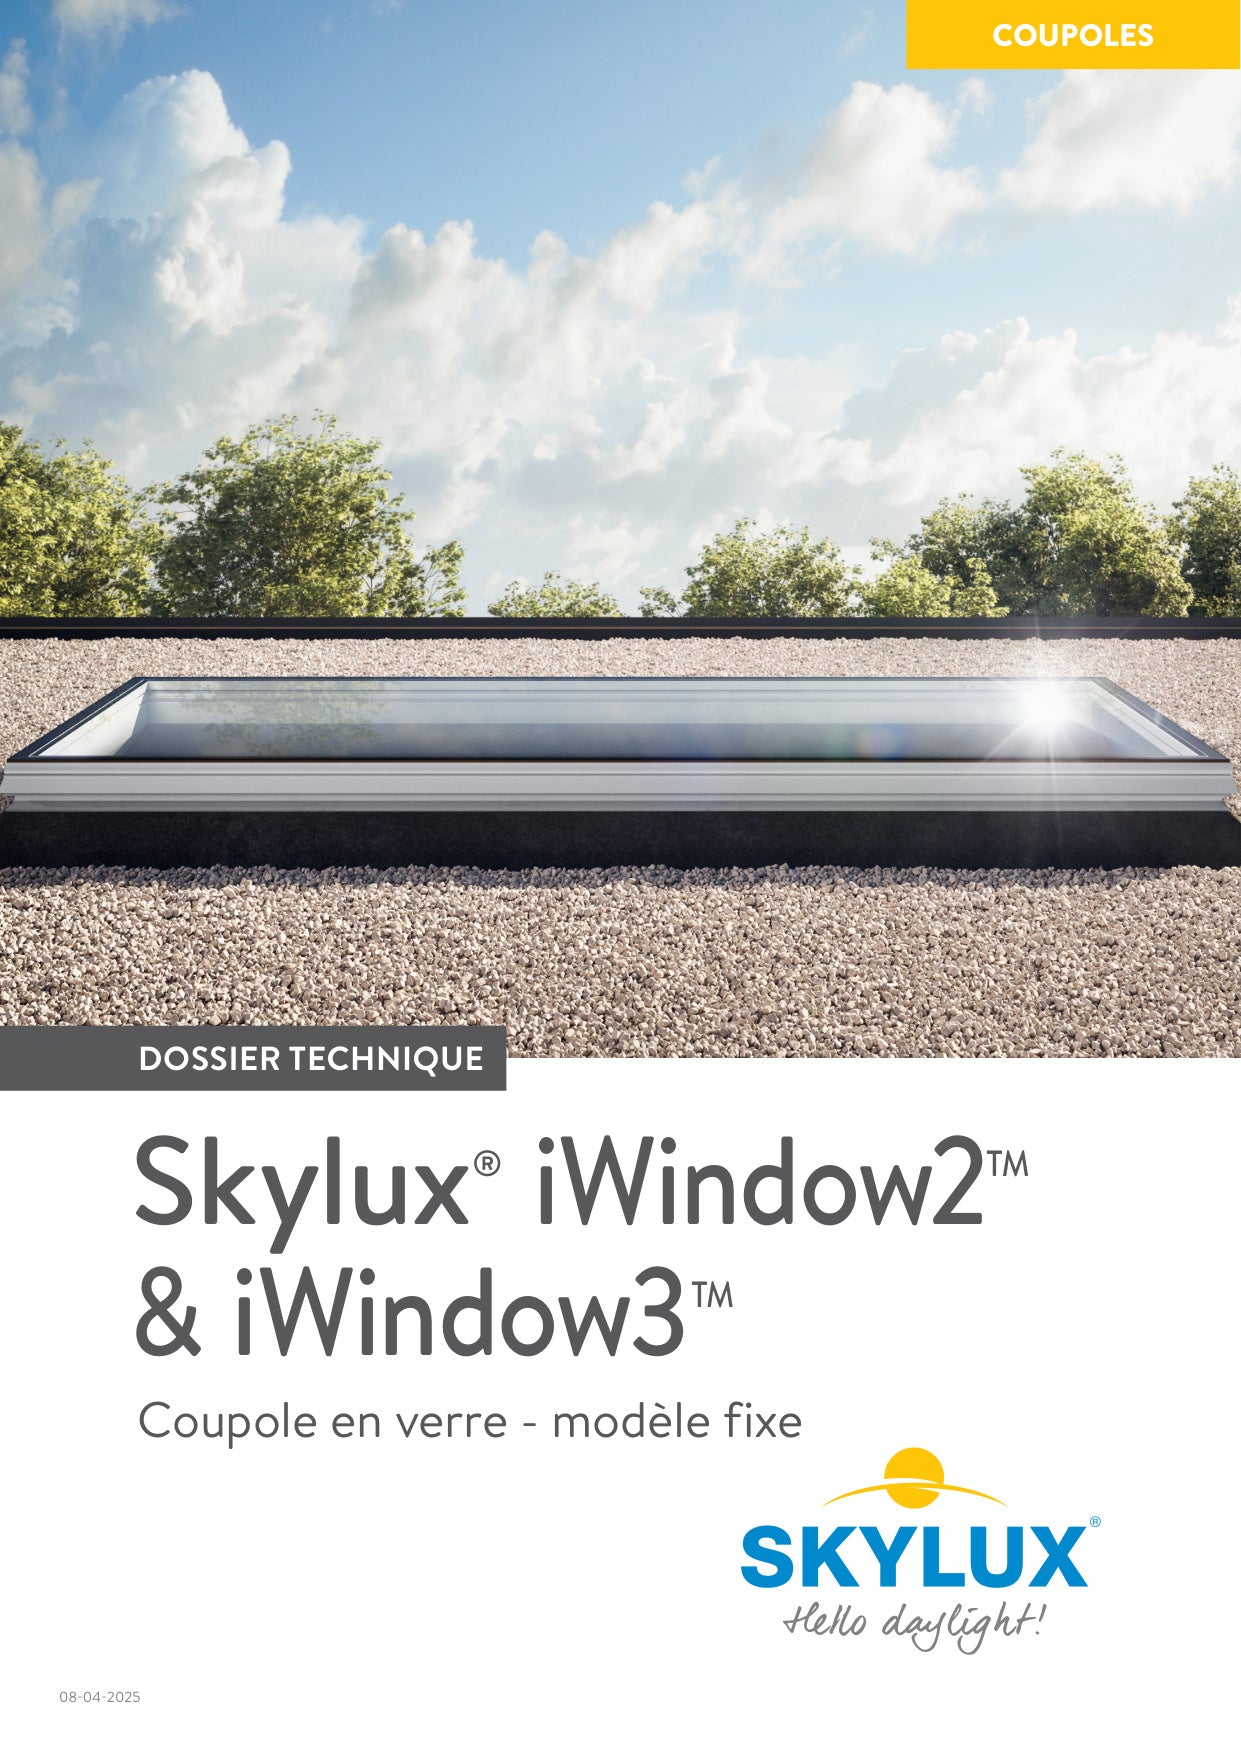
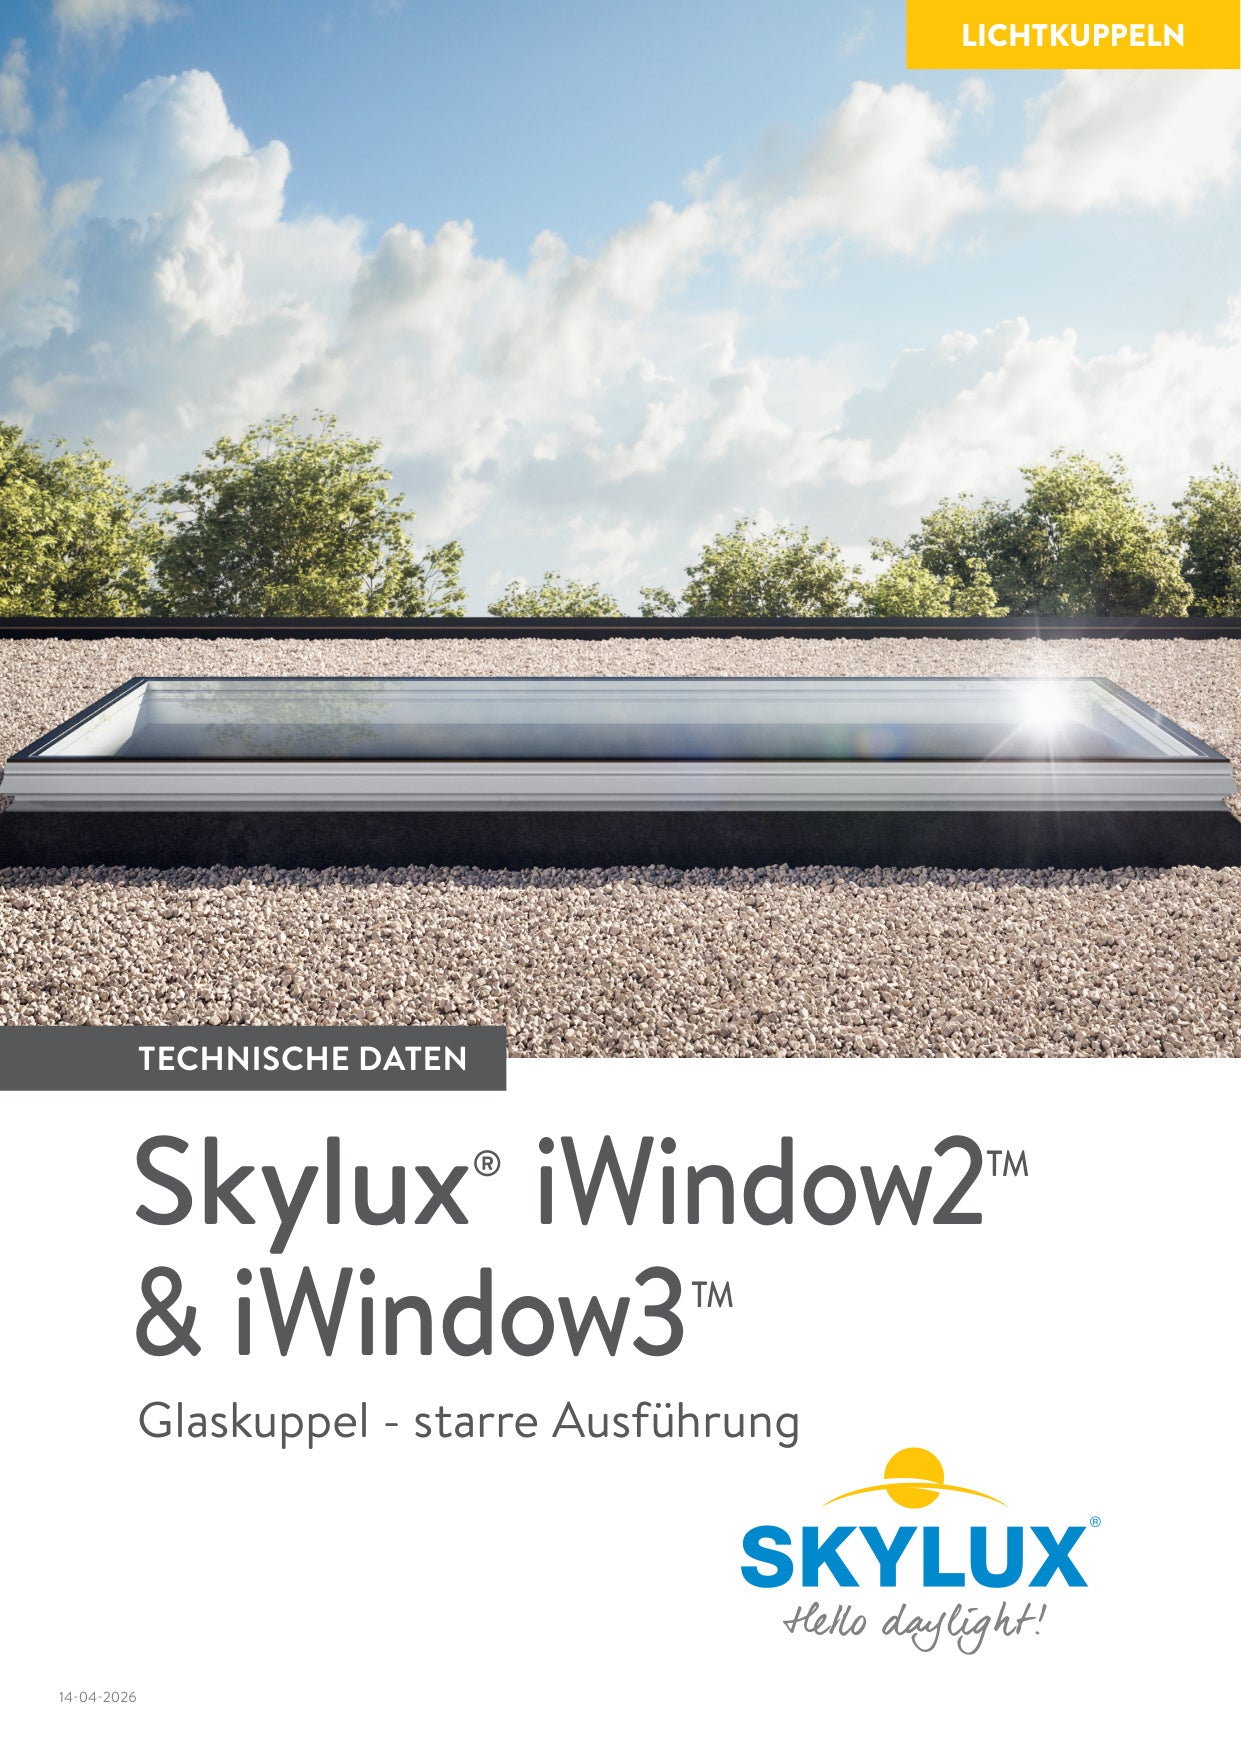
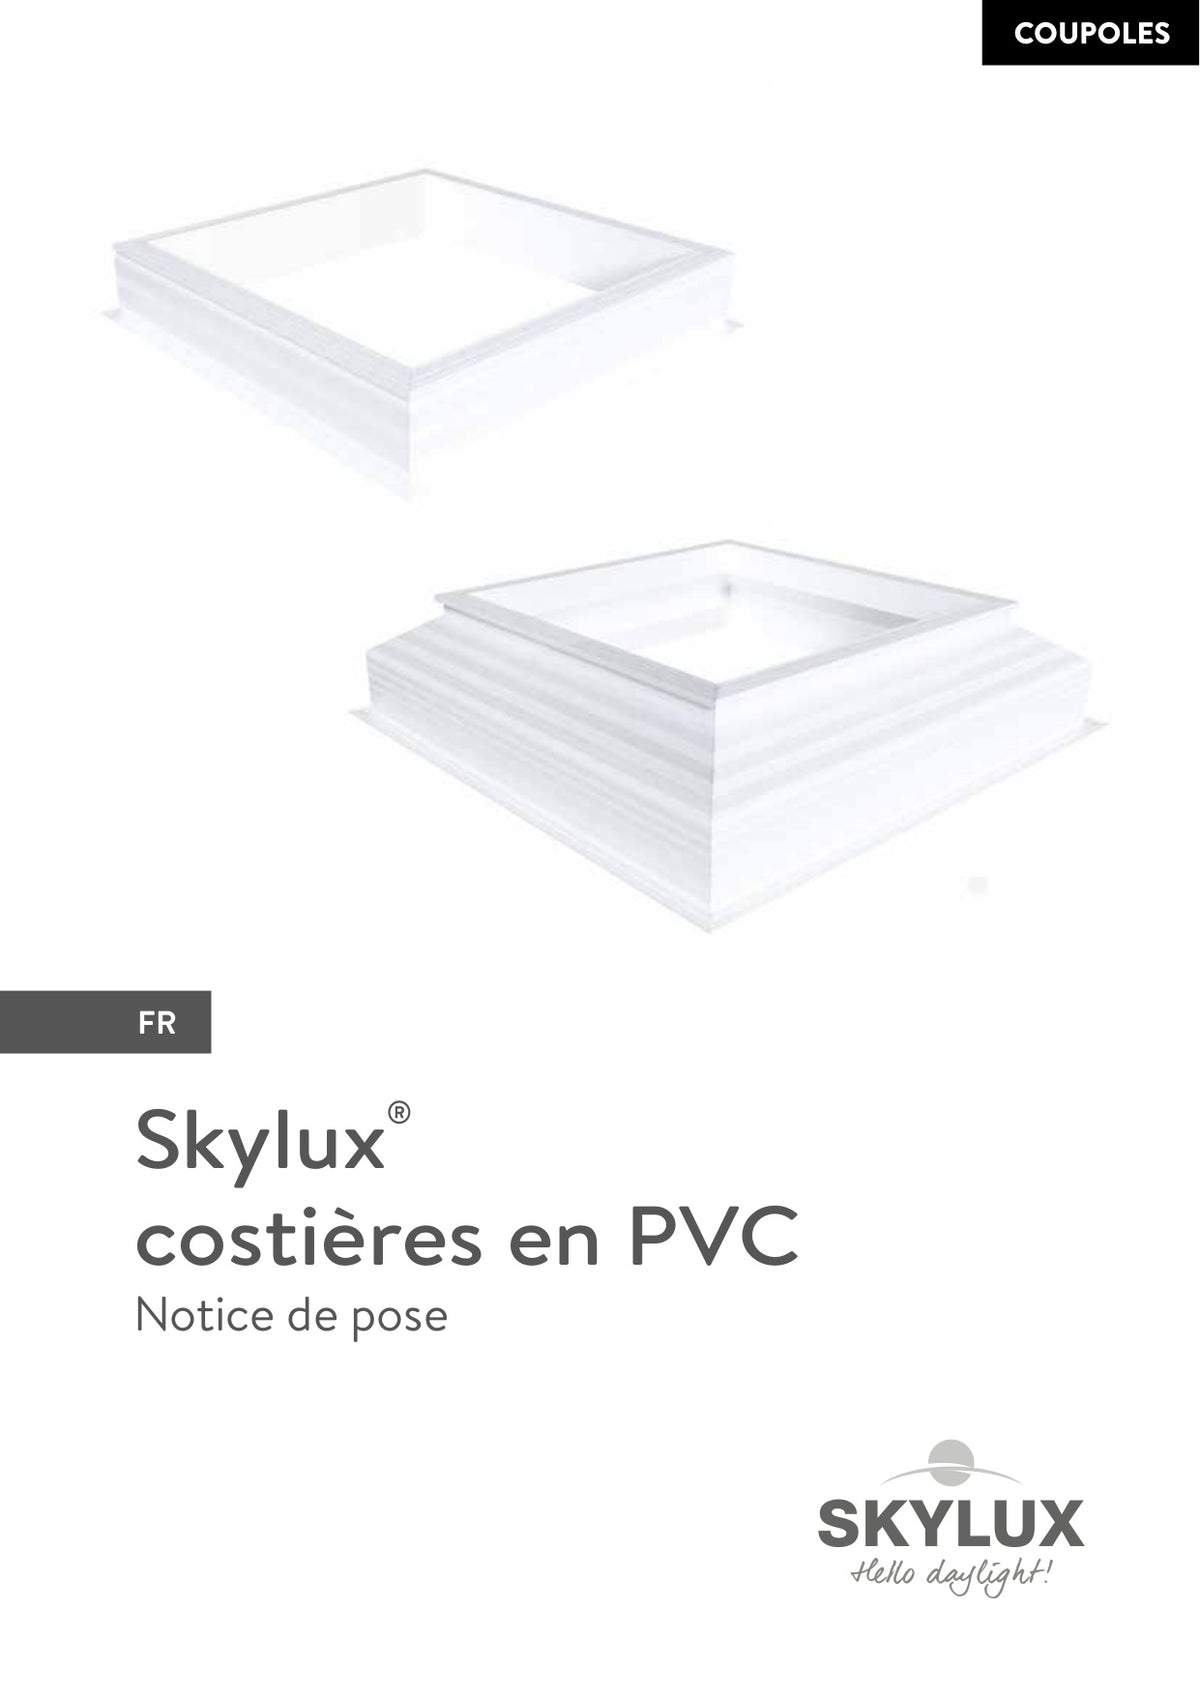
Everything for professionals and DIYers. Download installation instructions, technical drawings and more for iWindow.
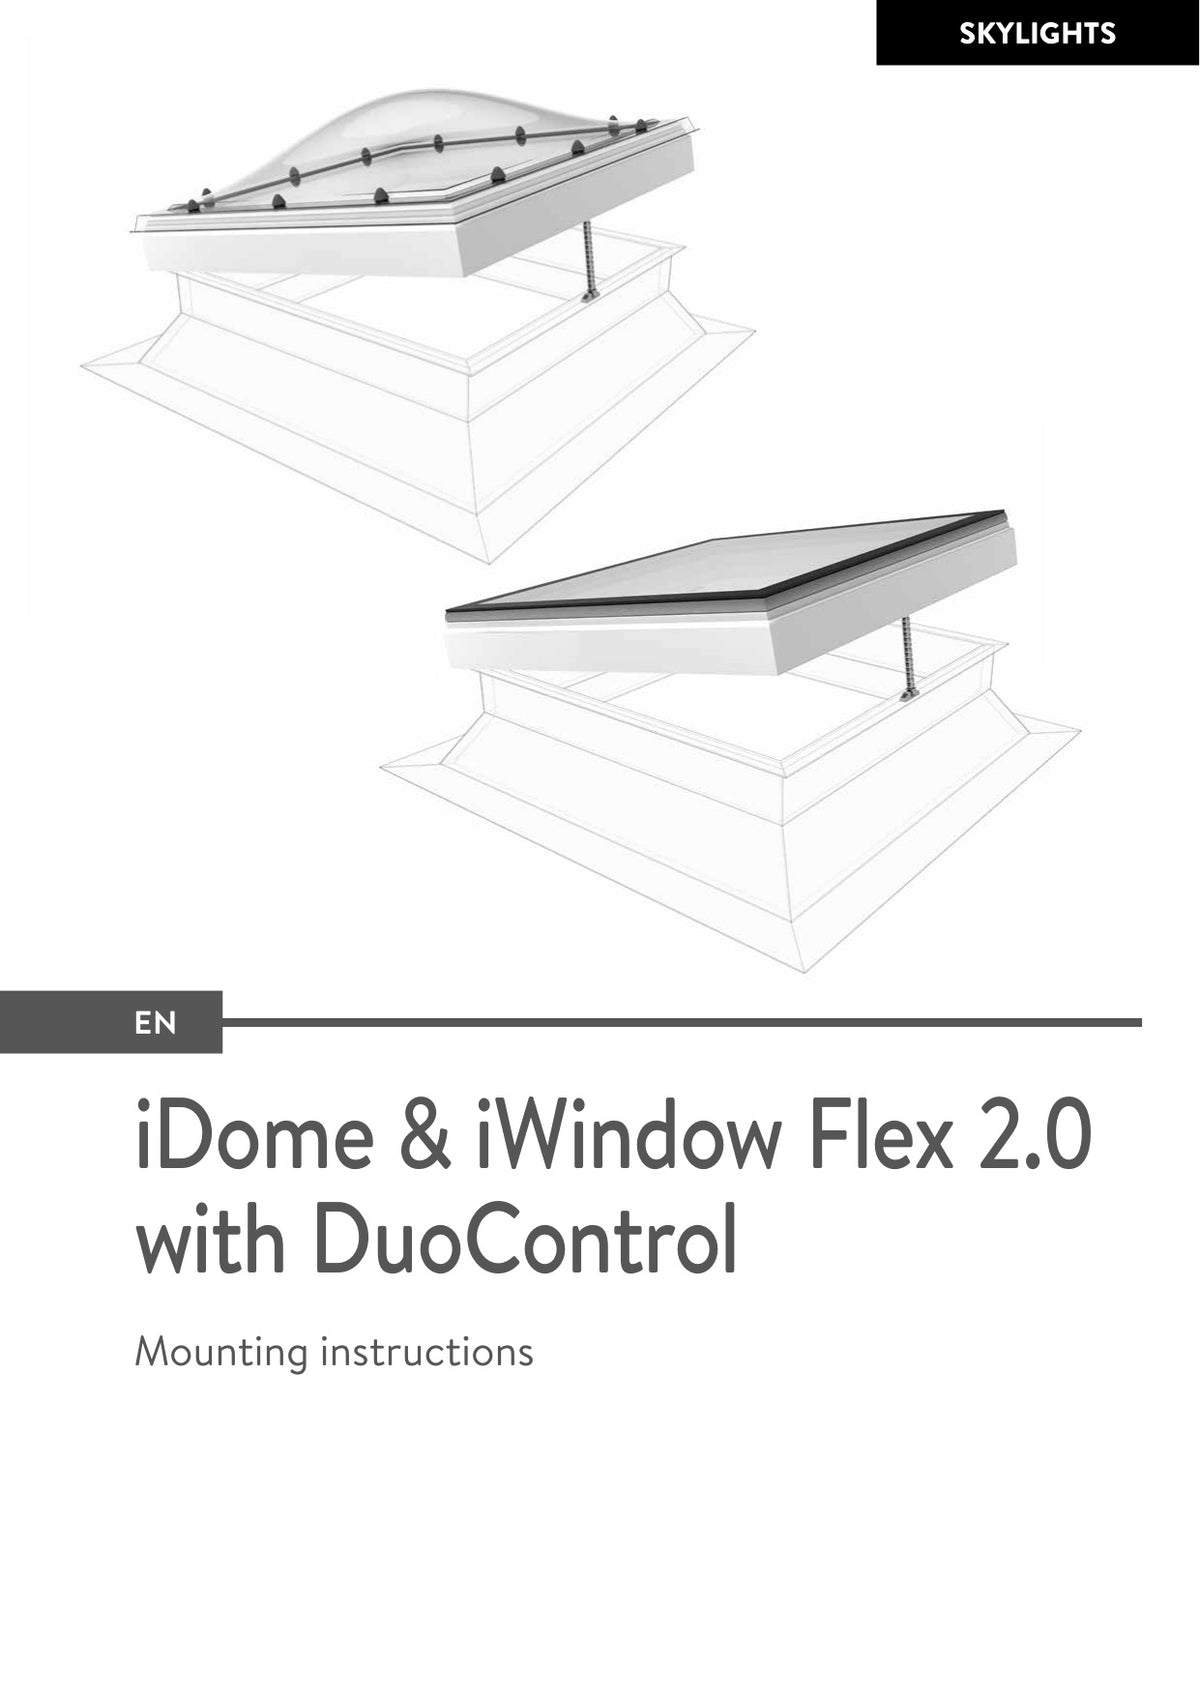
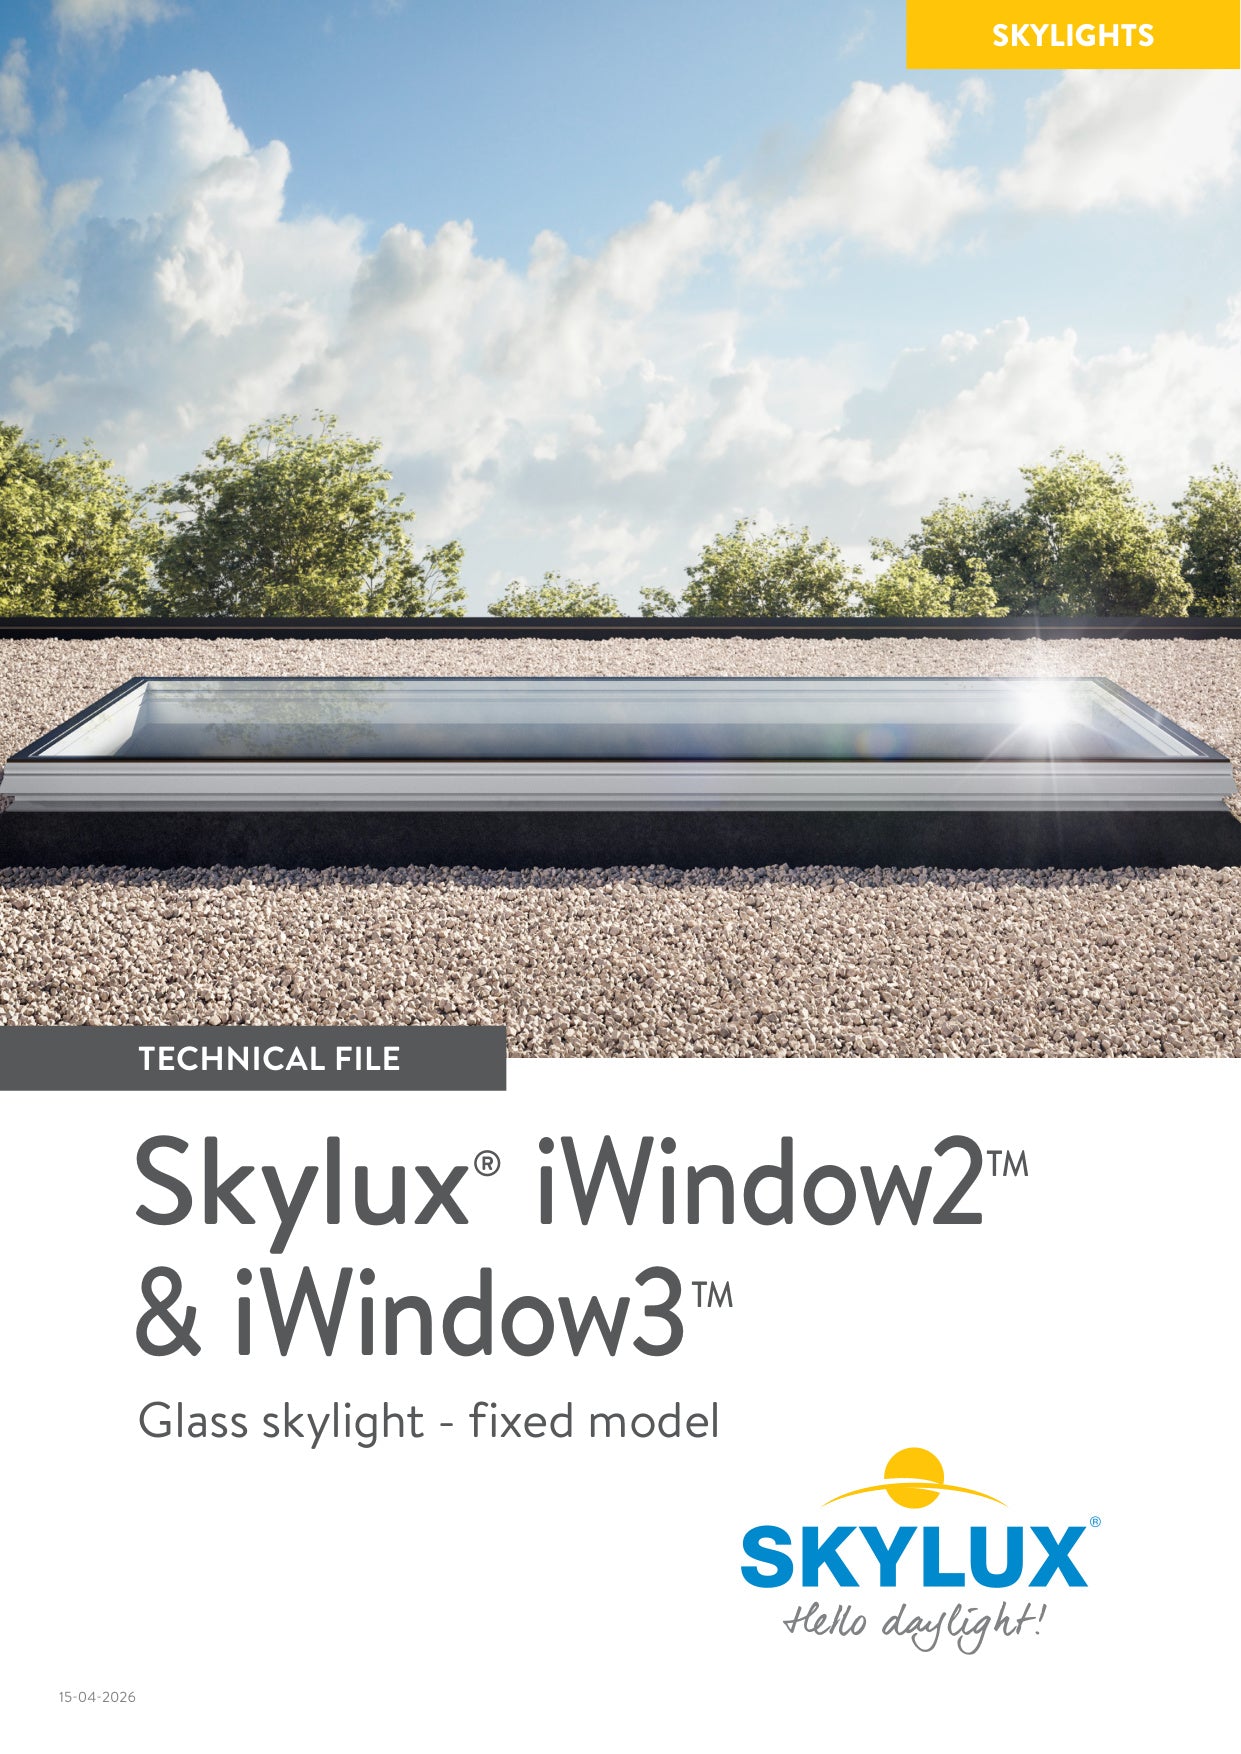

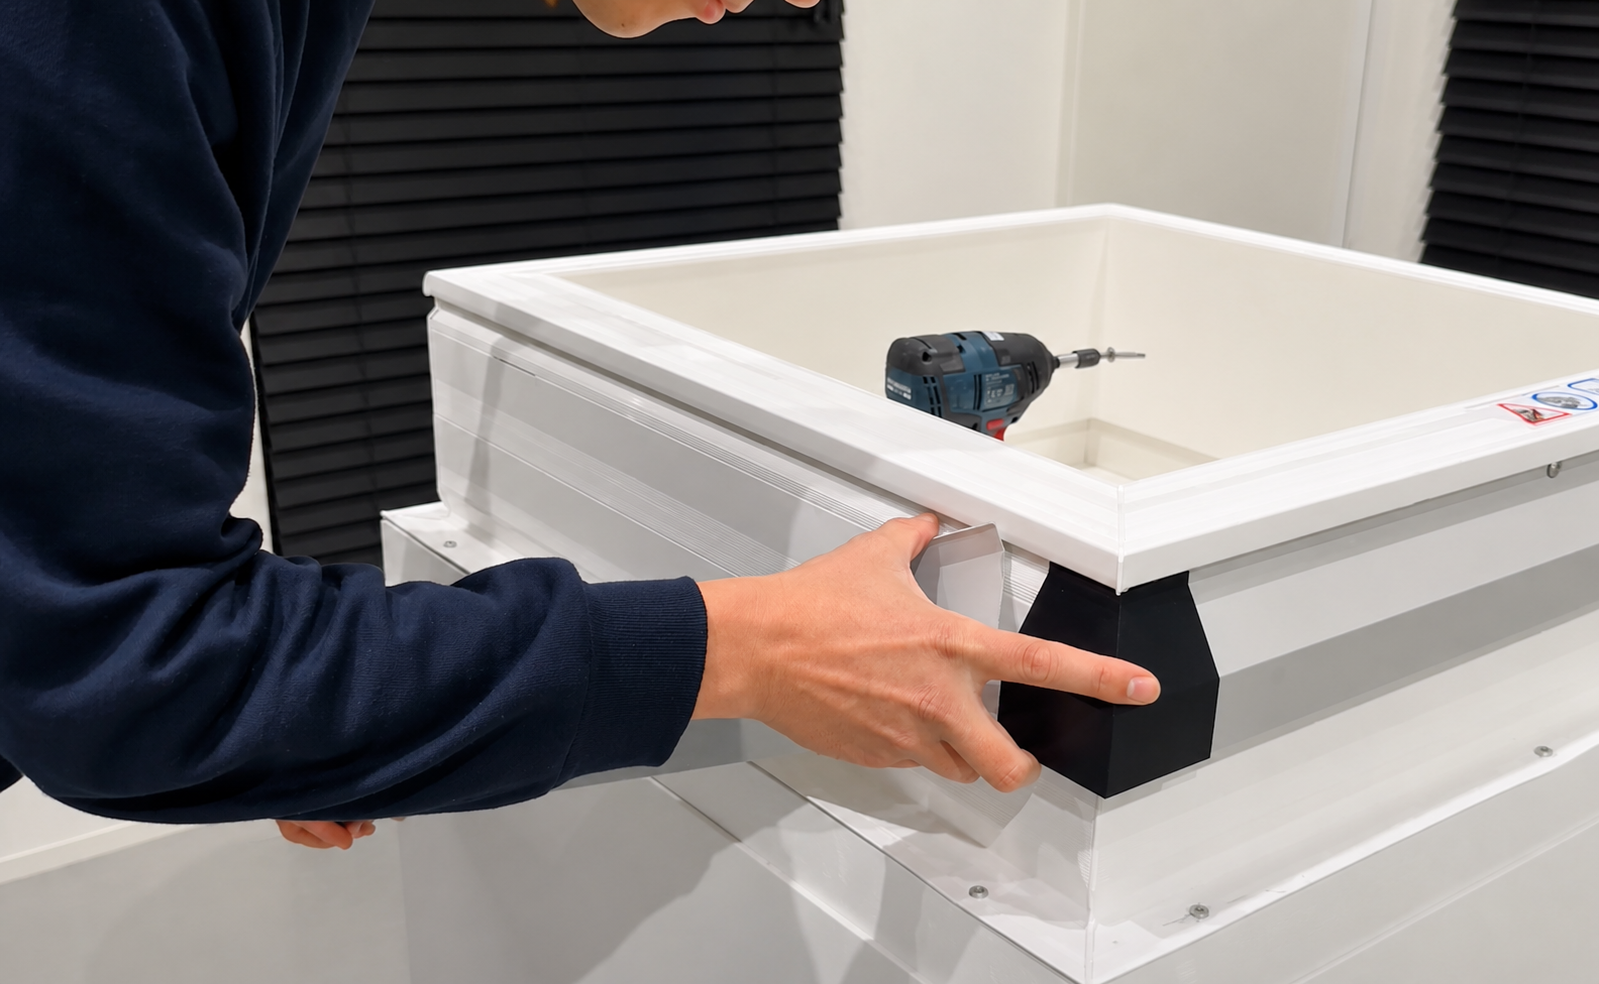
iWindow + Flashing installation
Important warning: When installing an openable version with a built-in motor in the curb, please pay very close attention. There is a risk of drilling into the control cassette or the electrical components. This may lead to damage or malfunctions. Always be careful and check the position of all components before drilling.